

Introduction:
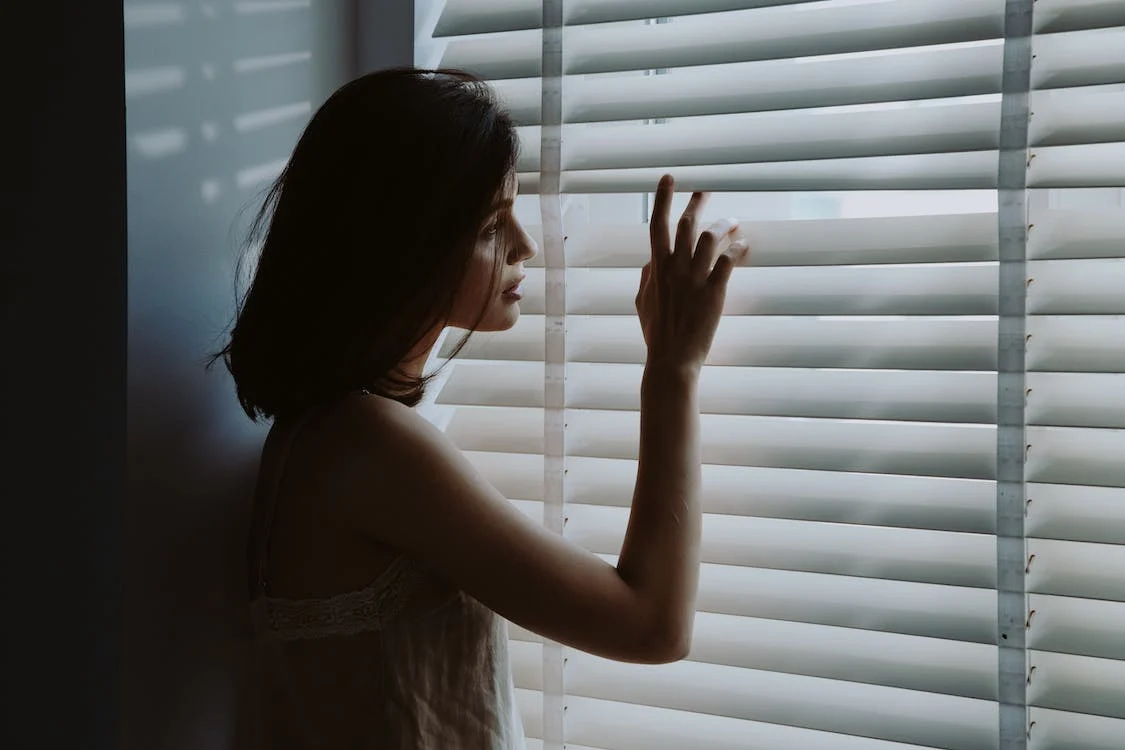
Ready to give your home a fresh new look without spending a ton of cash? Sometimes, the key to a stylish home makeover lies in the simplicity of do-it-yourself projects. DIY blinds are a simple and cool way to make that happen. These window treatments not only add a touch of personal flair to your home but also grant you control over natural light and privacy. This guide will show you how to make DIY blinds – a fun and budget-friendly project that brings style to your space. No need for fancy tools or experts; just a bit of creativity and some basic supplies. Let’s jump into the world of DIY blinds and see how easy it is to turn your home into a stylish haven with a touch of your own unique vibe.
Transform Your Space: DIY Blinds for Stylish Customization
DIY blinds, short for “Do It Yourself” blinds, are a creative and cost-effective solution for customizing your window treatments without the need for professional assistance. These homemade window coverings empower homeowners to take control of their home decor, offering a hands-on approach to styling living spaces. The essence of DIY blinds lies in simplicity and accessibility, as they enable individuals to personalize their surroundings with ease.
Typically, DIY blinds involve the customization of existing mini blinds or the assembly of blinds using readily available kits. Home decorators can choose from a variety of fabrics to match their decor style, selecting materials that range from light and airy to heavy and opaque, depending on the desired level of privacy and light filtration.
The process involves measuring windows, selecting appropriate fabric, cutting and hemming the material, and then attaching it to the blinds, whether they are pre-existing or part of a DIY roller blind kit. The result is a tailored window treatment that not only serves functional purposes but also adds a distinctive touch to the overall aesthetic of the home. DIY blinds cater to those seeking a hands-on, budget-friendly way to enhance their living spaces while reveling in the satisfaction of a personalized and stylish home makeover.
Tools Needed for making DIY Blinds:
Creating your own DIY blinds is a straightforward process, and the key lies in gathering the right materials. Start with a fabric of your choice, aligning with your decor and light preferences. Mini blinds or a roller blind kit will serve as the base, providing structure to your custom creation. Ensure you have a measuring tape to determine accurate dimensions for a perfect fit. Scissors come in handy for cutting the fabric to size, while fabric glue or a sewing machine is crucial for a neat finish. A pencil or chalk aids in marking and guiding your cuts. An iron helps create smooth hems, and if you’re using a roller blind kit, mounting brackets and a screwdriver are essential for installation. With these materials in hand, you’re ready to infuse your space with a personalized touch through DIY blinds.
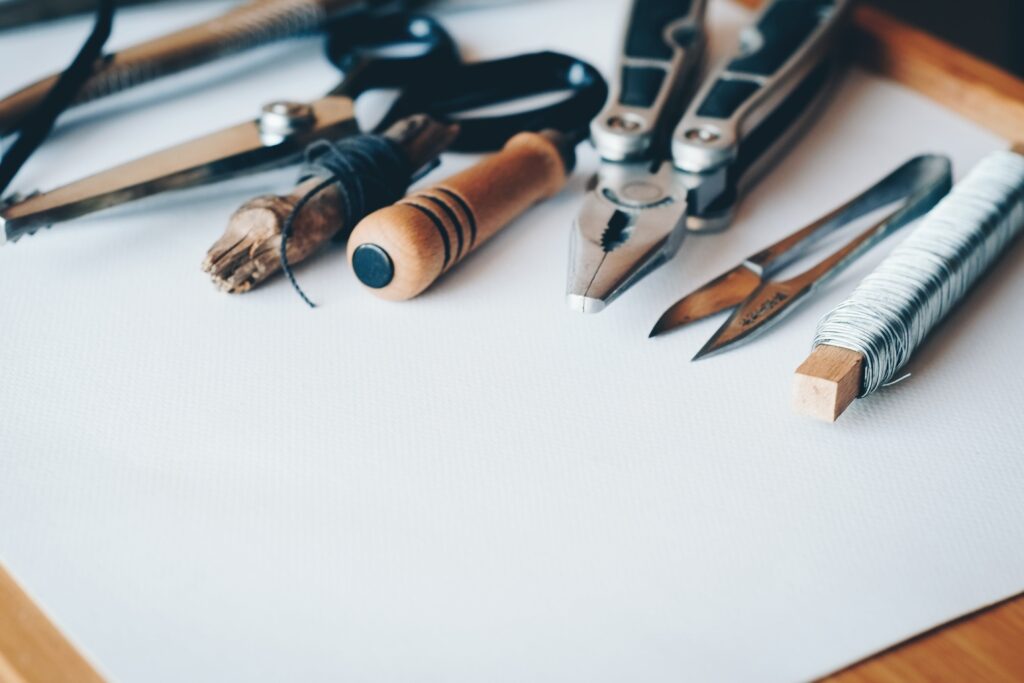
Materials:
- Fabric of your choice
- Mini blinds or roller blind kit
- Measuring tape
- Scissors
- Fabric glue or sewing machine
- Pencil or chalk
- Iron
- Mounting brackets (if using a roller blind kit)
- Screwdriver
- Velcro strips (optional)
Step-by-Step Guide:
Making your own DIY blinds promises a fun and rewarding experience in home decor. With just a few simple steps, you can achieve a personalized touch to your windows that perfectly complements your style. The process involves measuring your windows accurately, choosing the right fabric, and carefully cutting and hemming it to size. Whether you’re working with mini blinds or a roller blind kit, the following step-by-step guide will walk you through the process, ensuring a seamless transformation of your living space. Get ready to infuse your home with creativity and charm as you embark on the adventure of crafting custom DIY blinds.
1. Measure Your Windows:
Begin by accurately measuring the width and length of your windows. This ensures the blinds fit perfectly.
2. Choose the Right Fabric:
Select a fabric that complements your decor and meets your privacy and light requirements. Consider the weight and color.
3. Cut the Fabric:
Using the measurements, carefully cut the fabric, leaving a little extra for hems and attachment.
4. Hem the Edges:
Create a polished look by folding and hemming the edges of the fabric using fabric glue or a sewing machine.
5. Prepare Mini Blinds or Roller Blind Kit:
If using mini blinds, remove slats and prepare them for fabric attachment. For a roller blind kit, follow the kit’s instructions.
6. Attach the Fabric:
Apply fabric glue or use a sewing machine to attach the fabric evenly to the blinds. Smooth out any wrinkles.
7. Mount the Blinds:
Install the blinds using the original brackets for mini blinds or the provided hardware for a roller blind kit.
8. Test and Adjust:
Operate the blinds to ensure smooth functionality. Make any necessary adjustments to ensure proper alignment.
9. Optional Velcro Strips:
For easy removal and cleaning, consider adding Velcro strips to the top of the blinds and the mounting surface.
10. Enjoy Your Custom DIY Blinds:
Sit back, relax, and relish in the satisfaction of transforming your living space with personalized and stylish DIY blinds.
Some Ideas for DIY Blinds: Draw Your Personal Touch with Unique Ideas

Embarking on the journey of DIY blinds opens a world of creative possibilities. Whether you’re aiming for sustainability with upcycled fabric scraps or infusing nostalgia using vintage linens, these ideas offer a diverse range of options. Experiment with stenciled designs, photo transfers, or opt for the modern touch of ombre effects. Spice things up with rope or bead embellishments, repurpose patterned pillowcases, or bring nature indoors with botanical prints. For a simple yet effective addition, consider ribbon accents, and for a rustic charm, burlap makes an excellent choice. Here are some DIY blind ideas, which will allow you to customize your window treatments, adding character and uniqueness to your living space.
1. Upcycled Fabric Scraps:
Create DIY blinds using leftover fabric scraps for a unique and eco-friendly touch. It’s a simple way to be sustainable and experiment with different textures and patterns. Turn those leftover materials into something stylish and functional for your windows, adding a personal touch to your space.
2. Vintage Sheets or Linens:
Give new life to old sheets or vintage linens by turning them into charming blinds. This easy approach adds a nostalgic touch to your space and is a budget-friendly alternative for window treatments.
3. Stenciled Designs:
Enhance plain fabrics with stenciled designs on your blinds. Pick patterns that match your style, then use fabric paint or markers for a personalized touch. It’s a simple way to add flair to your window treatments.
4. Photo Transfer Blinds:
Transform your blinds into a personalized gallery by transferring cherished photos onto the fabric. This inventive idea not only showcases memories but also adds a unique, sentimental touch to your space. Select images that hold special significance, turning your blinds into a meaningful and decorative element.
5. Ombre or Dip-Dyed Effect:
Infuse a modern and trendy vibe into your DIY blinds with ombre or dip-dyed effects. Experiment with a gradual transition of colors, creating a contemporary aesthetic. This technique allows you to play with various shades, adding depth and style to your window treatments.
6. Rope or Bead Embellishments:
Elevate the visual allure of your blinds by incorporating decorative elements like ropes or beads along the bottom. This uncomplicated addition introduces texture and visual interest, turning your blinds into a captivating focal point within any room.
7. Patterned Pillowcase Blinds:
Give new life to patterned pillowcases by repurposing them into stylish blinds. This quick and cost-effective DIY personalization project offers a diverse range of patterns and styles. Choose pillowcases that resonate with your decor, providing an easy and budget-friendly solution for enhancing your windows.
8. Botanical Prints:
Bring a breath of fresh air indoors by integrating botanical prints onto your blinds. Utilize leaf stencils or actual leaves as stamps to create a nature-inspired theme. This botanical touch adds a natural and refreshing ambiance to your space, seamlessly blending the outdoors with your interior decor..
9. Ribbon Accents:
Enhance the straightforward elegance of your blinds with a touch of creativity by adding ribbon accents. Opt for ribbons in contrasting colors or patterns, and weave them through the slats for a playful and colorful embellishment. This simple addition brings a lively and charming atmosphere to your space.
10. Burlap for a Rustic Touch:
Embrace a cozy, rustic aesthetic by opting for burlap as the primary fabric for your blinds. The natural texture and earthy tones of burlap infuse warmth and charm into any room, creating an inviting atmosphere. This choice lends a timeless and comforting feel to your living space, evoking a sense of relaxation and homeliness.
Crafting a Greener Home: The Environmental Benefits of DIY Projects

Engaging in DIY home projects, particularly those focused on repurposing and upcycling, contributes significantly to environmental sustainability. By transforming everyday items into new and functional pieces, individuals minimize the demand for new materials, thereby reducing the overall environmental impact associated with production and waste. DIY projects often involve the use of existing resources, such as repurposing old fabrics or utilizing forgotten household items, leading to a decrease in the amount of discarded materials in landfills. Additionally, embracing these projects fosters a culture of resourcefulness and mindful consumption, encouraging a shift towards eco-friendly habits. Ultimately, DIY home projects including DIY blends, DIY water bottle crafts, DIY crafting with kids, etc empower individuals to be proactive stewards of the environment, promoting a greener and more sustainable living.
Conclusion:
In conclusion, diving into the world of DIY blinds and other home projects not only adds a personalized touch to your living space but also champions environmental responsibility. From upcycling fabric scraps to embracing rustic burlap, each creative endeavor reduces waste and fosters a more sustainable lifestyle. These projects empower individuals to minimize their carbon footprint, turning discarded items into functional and aesthetically pleasing elements of their homes. By choosing to embark on DIY ventures, you not only craft a space uniquely tailored to your style but also contribute to a greener future. Let your creativity flourish as you transform your home, one eco-friendly project at a time.