

Introduction:
Welcome to the world of DIY fun! Are you ready to embark on a crafting journey that combines skill and entertainment? Look no further than this step-by-step guide on how to make your very own DIY cornhole game. Transitioning from the idea of a classic backyard game to a hands-on project is easier than you think. In the upcoming sections, we’ll guide you through the process with clear instructions and helpful tips. From selecting materials to mastering woodworking basics, this project is designed for all skill levels. Get ready to transform plywood and 2x4s into a custom cornhole set that promises hours of joy at family gatherings, tailgate parties, or lazy Sunday afternoons. So, grab your measuring tape and let’s dive into the world of DIY crafting with this exciting cornhole adventure!
Unveiling the Basics: What is a Cornhole Game?
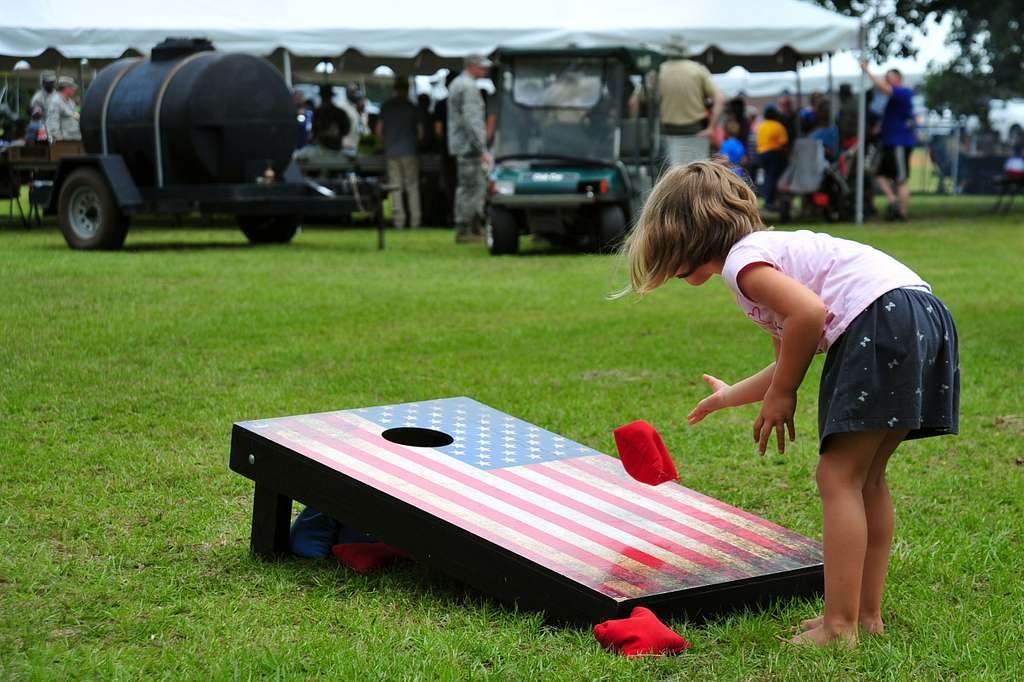
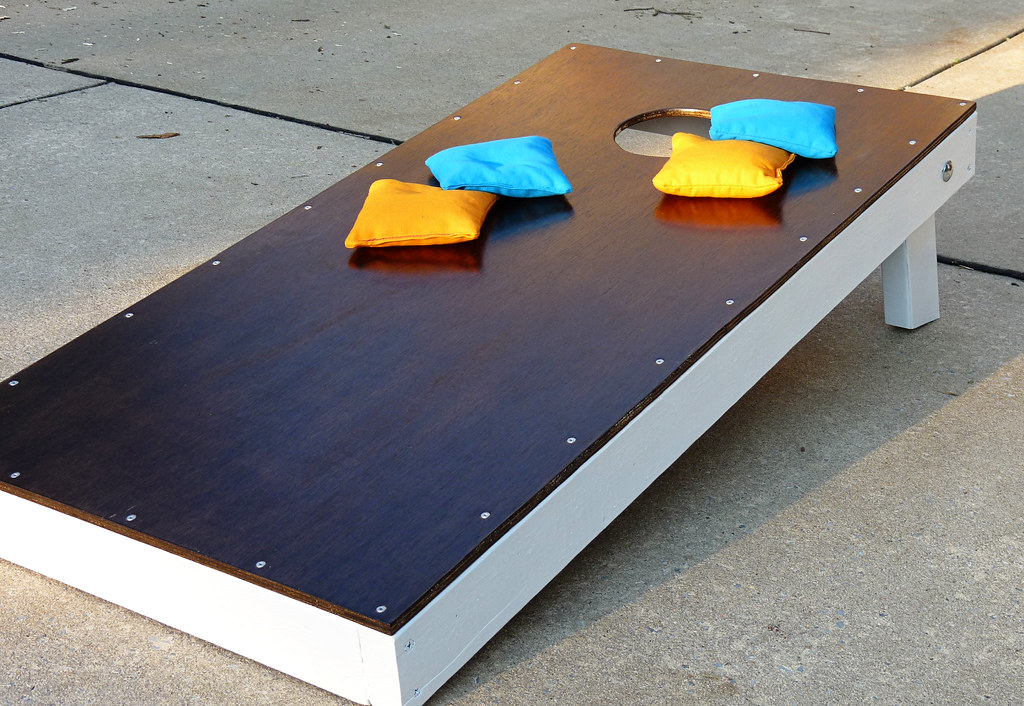
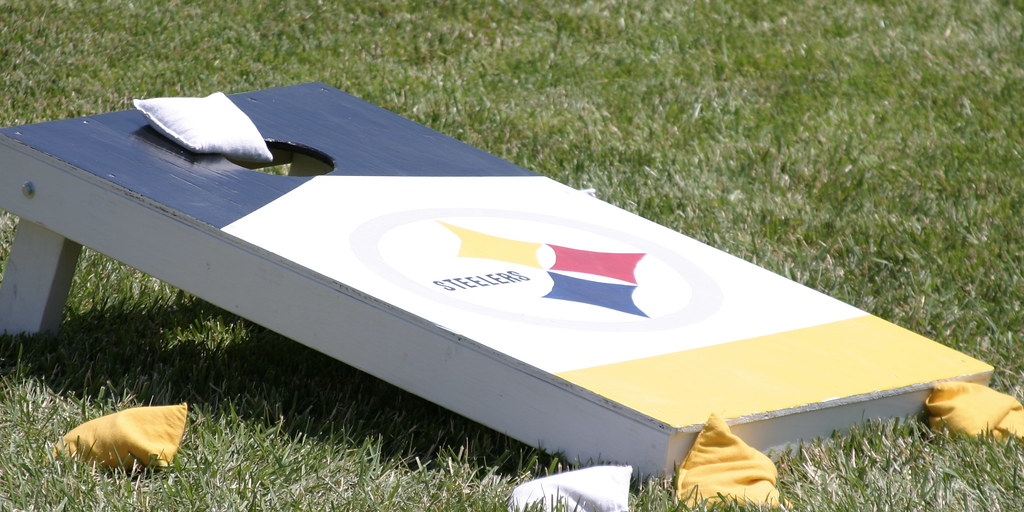
Cornhole, often called bean bag toss, is a popular outdoor game that combines skill, strategy, and a dash of friendly competition. The game consists of two elevated inclined boards, each with a circular hole near the top. Players, either individually or in teams, take turns tossing bean bags towards the opposing board, aiming to land them through the hole or on the board for points. The rules are simple yet engaging: three points for a bag through the hole, one point for a bag on the board, and the first team or player to reach 21 points wins. Portable and versatile, cornhole has become a staple at tailgates, backyard barbecues, and social gatherings, providing hours of lighthearted enjoyment for participants of all ages.
Materials Needed for Crafting Your DIY Cornhole Game
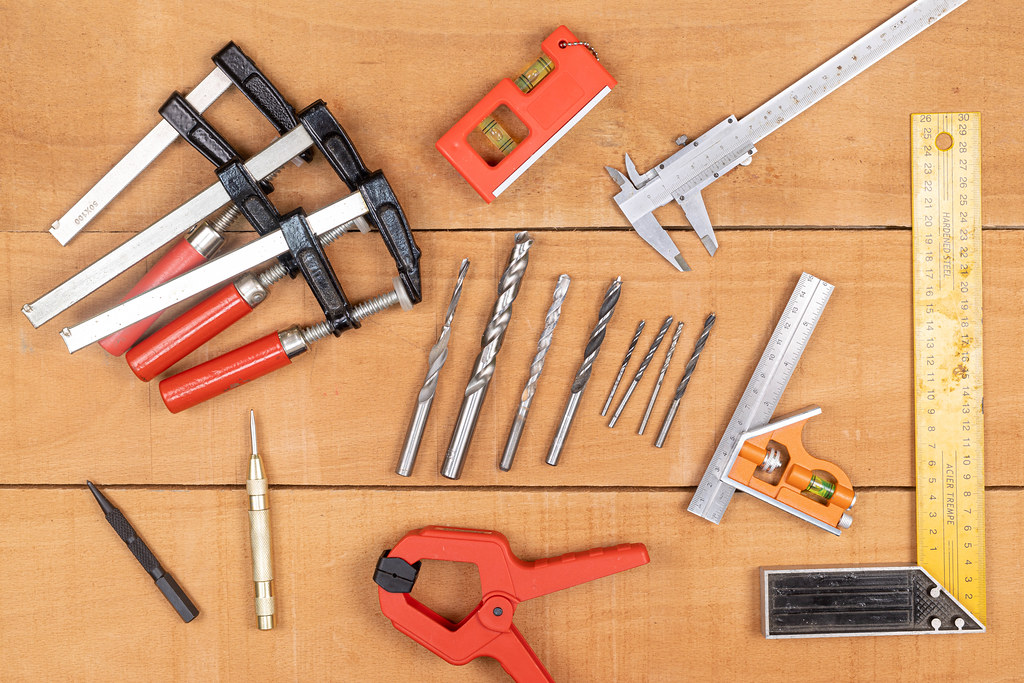
Building your own cornhole game is a rewarding project that requires a few essential materials. Before you embark on this DIY adventure, make sure you have the following items on hand:
- Plywood Sheets (2 pieces, 2 feet x 4 feet each): These will serve as the playing surfaces for your cornhole boards.
- 2×4 Lumber (8 pieces, 8 feet long): Essential for constructing the frame and legs of the cornhole boards.
- Wood Screws: Used to secure the frame and plywood, ensuring a sturdy structure.
- Wood Glue: Enhances the strength of joints, adding durability to your cornhole boards.
- Jigsaw or Circular Saw: Necessary for cutting the plywood and creating the cornhole openings.
- Power Drill: A versatile tool for making holes, securing screws, and assembling your cornhole boards.
- Measuring Tape: Ensures precision in cutting and placement of components.
- Sandpaper: Smooths rough edges for a professional finish.
- Outdoor Paint (Optional): If you choose to add a personal touch, outdoor paint can be used to decorate and protect your cornhole boards from the elements.
With these materials in hand, you’ll be well-equipped to embark on the journey of crafting your very own cornhole game.
Crafting Your Own DIY Cornhole Game: Step-by-Step Process
Once you have the aforementioned materials at hand, now we can work further and craft the DIY cornhole game. However, take precaustions, as DIY crafting with kids can be challenging with kids around. As a parent, you should supervise your child when embarking on such projects with your little one. However, even as an adult, if you are crafting it alone, take cautions, as the tools can be very sharp and can injure you. Please follow the below instructions for the step-by-step process.
Step 1: Cut the Plywood
Start by cutting the plywood sheets into two equal pieces, each measuring 2 feet by 4 feet. These will serve as the playing surfaces for your cornhole boards.
Step 2: Construct the Frame
Take four pieces of the 2×4 lumber and cut them into four 2-foot sections and four 4-foot sections. Use these pieces to create the frame for each cornhole board. Attach the 2-foot sections to the sides of the 4-foot sections to form a rectangle using wood screws and wood glue. This will be the base of your cornhole board.
Step 3: Attach the Plywood
Place the plywood on top of the frame, ensuring it is centered and aligns with the edges. Secure the plywood to the frame using wood screws, creating a sturdy playing surface.
Step 4: Cut the Hole
Measure 6 inches from the top and 12 inches from each side of the plywood. Mark these points and use a circular saw or jigsaw to cut a 6-inch diameter hole at each marked location. This is the cornhole opening.
Step 5: Add Legs
Cut four 12-inch sections from the remaining 2×4 lumber. Attach these as legs to the back of the cornhole board frame, ensuring they are perpendicular to the ground. This will give your cornhole boards an inclined angle for better gameplay.
Step 6: Sand and Paint (Optional)
Smooth any rough edges with sandpaper to ensure a professional finish. If you’re feeling creative, paint your cornhole boards with outdoor paint in your favorite colors or designs. Make sure to use weather-resistant paint to protect your DIY creation from the elements.
Step 7: Play and Enjoy
Once the paint is dry, your DIY cornhole game is ready for action! Gather your friends and family, set up your boards, and let the cornhole tournament begin. With a few simple materials and some basic woodworking skills, you’ve created a custom cornhole set that promises hours of outdoor entertainment. Get ready to toss those bean bags and enjoy the thrill of victory in your very own handmade cornhole game!
Creative Customization: Elevate Your DIY Cornhole Game with Personal Touches
Customizing your DIY cornhole game adds a personal touch and makes it uniquely yours. Here are some creative ideas to enhance the aesthetics and functionality of your cornhole set:
1. Custom Paint Job:
- Express your personality with vibrant colors, team logos, or intricate designs on the playing surfaces.
- Consider painting the cornhole boards in a theme that resonates with your interests, such as sports, movies, or your favorite vacation spot.
2. Decals and Stickers:
- Apply decals or stickers to the sides of the cornhole boards to showcase your favorite sports teams, quotes, or creative artwork.
- Personalize the cornhole boards with your initials or a family crest for a sophisticated touch.
3. LED Lighting:
- Attach LED strips around the edges of the cornhole boards for a visually striking effect during evening games.
- Illuminate the cornhole openings with LED lights to make the game more exciting in low-light conditions.
4. Scoreboard Attachment:
- Create a detachable or foldable scoreboard that attaches to the side of the cornhole boards for easy score tracking.
- Use chalkboard paint to turn part of the board into a writable surface for keeping score.
5. Integrated Cup Holders:
- Add cup holders to the sides of the cornhole boards to keep beverages within reach during gameplay.
- Ensure the cup holders are detachable for easy transportation and storage.
6. Weather-Resistant Finish:
- Apply a weather-resistant sealant or polyurethane to protect the cornhole boards from the elements.
- Consider using outdoor-grade paint for longevity and durability against sun, rain, and humidity.
7. Carry Handles:
- Attach sturdy handles to the sides of the cornhole boards for convenient carrying.
- Opt for leather or rope handles for a rustic and stylish look.
8. Folding Legs with Locking Mechanism:
- Install folding legs with a locking mechanism for easy storage and transportation.
- This feature makes your cornhole set more portable and suitable for various outdoor events.
9. Personalized Bean Bags:
- Create custom bean bags with fabric that complements the overall theme of your cornhole boards.
- Add personal touches like embroidered initials, team logos, or unique patterns.
10. Interchangeable Panels:
- Design cornhole boards with interchangeable panels, allowing you to switch out different designs for various occasions.
- Have themed panels for holidays, birthdays, or special events.
Remember, the possibilities for customization are endless. Feel free to mix and match these ideas or come up with your own to make your DIY cornhole game truly one-of-a-kind!
Crafting Joy Together: Family Bonding Adventures
Engaging in DIY projects, such as crafting your own cornhole game, is not only a fulfilling endeavor but also a fantastic opportunity for quality time alone or with family members. The process of creating something tangible with your hands fosters a sense of accomplishment and joy.
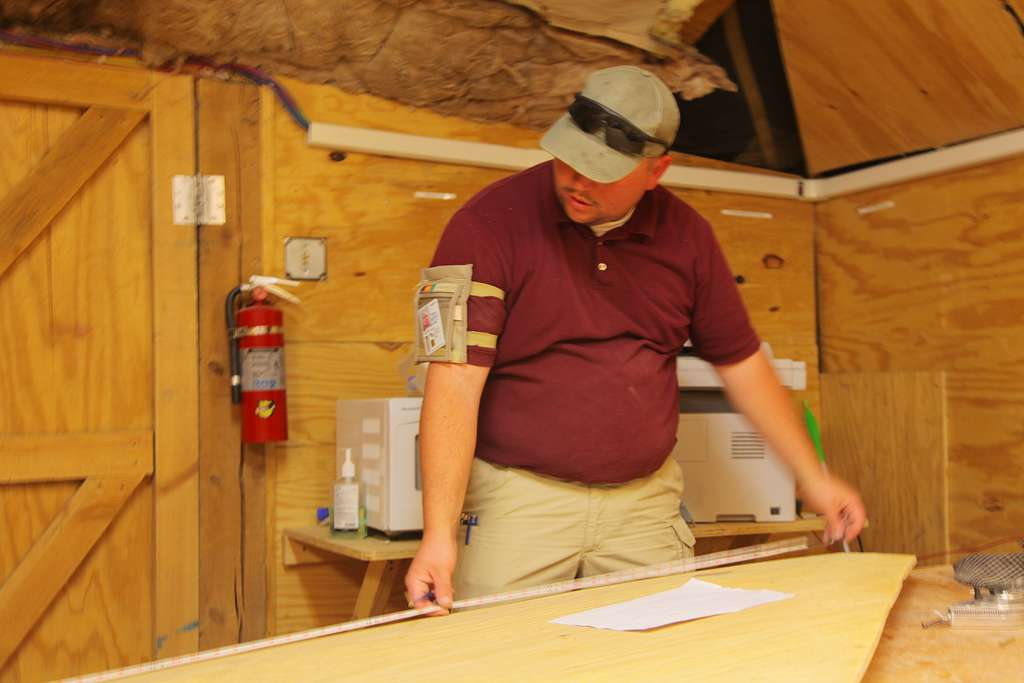
Embarking on a solo DIY adventure allows for a therapeutic and meditative experience. As you meticulously measure, cut, and assemble the components for your cornhole game, the satisfaction of seeing your creation come to life becomes a reward in itself. It’s a chance to immerse yourself in the world of craftsmanship, unleashing your creativity and honing your woodworking skills.
On the other hand, involving family members in the crafting process transforms the activity into a delightful shared experience. Crafting the cornhole game together becomes a bonding opportunity, as each family member contributes to different aspects of the project. The collaborative effort not only strengthens familial bonds but also creates lasting memories. Parents guiding their children through the steps, siblings working side by side, and everyone sharing a sense of accomplishment – these are the moments that make crafting a cornhole game a joyful family affair.
Moreover, this DIY project opens the door to exploring other crafting ventures as a family. Consider trying your hand at DIY water bottle crafts, experimenting with DIY blinds for home decor, or even crafting personalized board games for family game nights. The possibilities for creative family activities are endless, and each new project becomes a canvas for shared laughter, learning, and fun. Whether crafting alone or with family members, the journey of creating a DIY cornhole game is filled with joy, creativity, and the satisfaction of making something unique with your own hands. It’s more than just a game; it’s a shared experience that transforms ordinary moments into extraordinary memories.
Conclusion:
In conclusion, embarking on the DIY journey to create your own cornhole game offers more than just a recreational activity; it becomes a transformative experience. Whether you choose the solitude of crafting alone or the joy of collaborating with family, the process is a testament to the satisfaction of creating something unique. The final product, personalized with vibrant colors and creative designs, goes beyond a game board – it reflects the spirit of your creativity and the bonds formed during the crafting journey. As you toss bean bags on your custom-made cornhole boards, you’re not just playing a game; you’re relishing the shared memories, laughter, and moments of togetherness that were intricately woven into the fabric of your DIY creation. The joy of crafting is not only in the destination but in the beautiful journey of making memories and creating something special with your own hands.