

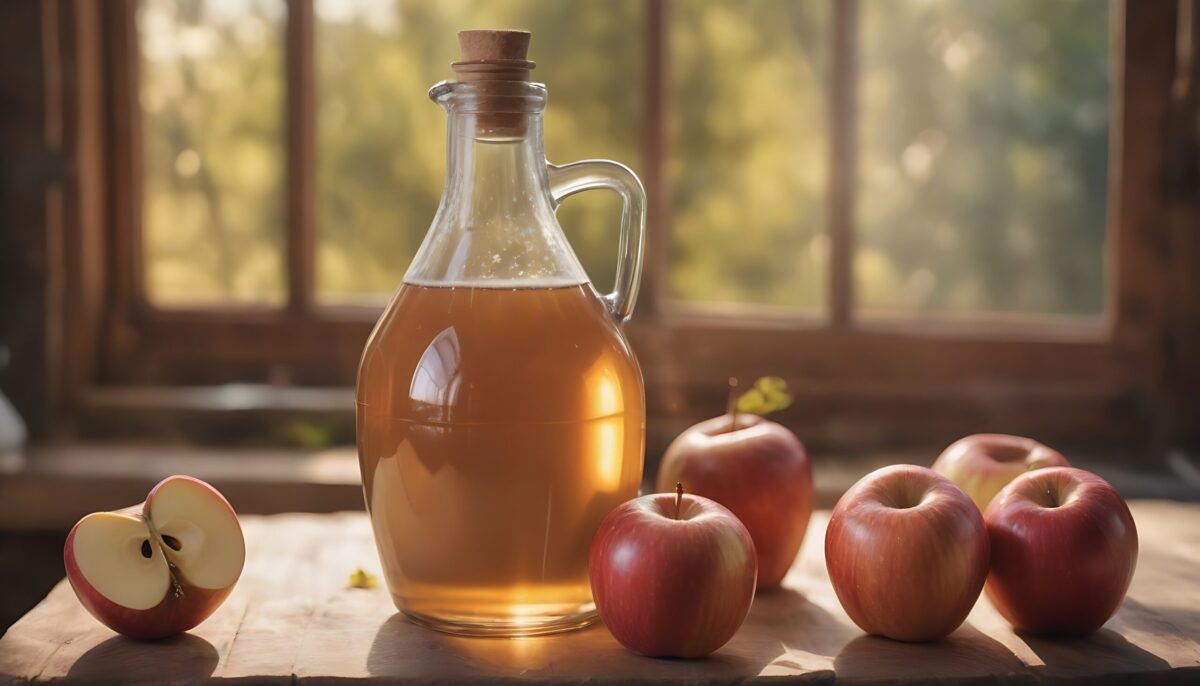
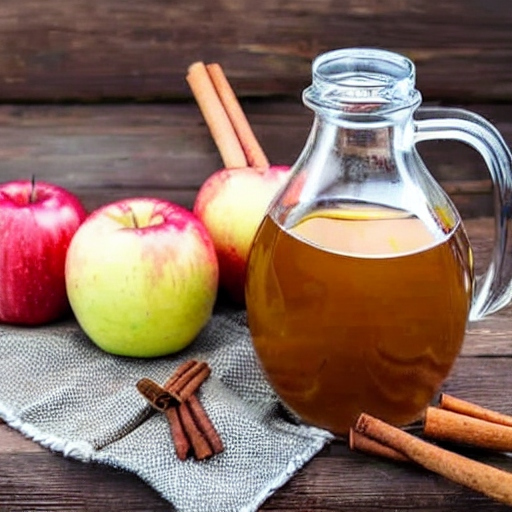
Introduction: Unveiling the Art of DIY Apple Cider Vinegar
In a world where convenience often trumps craftsmanship, there’s a distinct pleasure in uncovering the art of do-it-yourself creations, especially when it comes to a kitchen essential as versatile as apple cider vinegar. As we embark on this journey, we peel back the layers of mystery surrounding the alchemy of fermentation. From the careful selection of the finest apples to the patient monitoring of the transformation process, we’ll explore the craft of creating your own liquid gold. Join us as we unveil the artistry behind DIY apple cider vinegar, turning ordinary ingredients into a pantry staple that not only elevates your culinary creations but also reconnects you with the ancient tradition of hands-on, homegrown goodness.
I. Understanding the Basics of Fermentation
A. The Alchemy of Fermentation
One of the key term you should be acquainted with to get started with DIY Apple Cider Vinegar is fermantation. Fermentation is a fascinating biological process driven by microorganisms. In this case, fermentation unfolds as apples metamorphose into vinegar through the orchestration of acetic acid bacteria. This intricate process begins with yeast fermenting the sugars in apple juice, generating alcohol and carbon dioxide. Subsequently, acetic acid bacteria, notably Acetobacter, seize the stage. They oxidize the alcohol, ushering in the transformation into acetic acid and water. The aerobic nature of these bacteria demands oxygen, emphasizing the need for aeration. Temperature influences the rate, with warmth expediting the process. Over time, the development of the distinctive “mother” indicates a thriving fermentation, encapsulating the scientific ballet that turns apples into the tangy elixir we know as apple cider vinegar.
B. Choosing the Right Apples
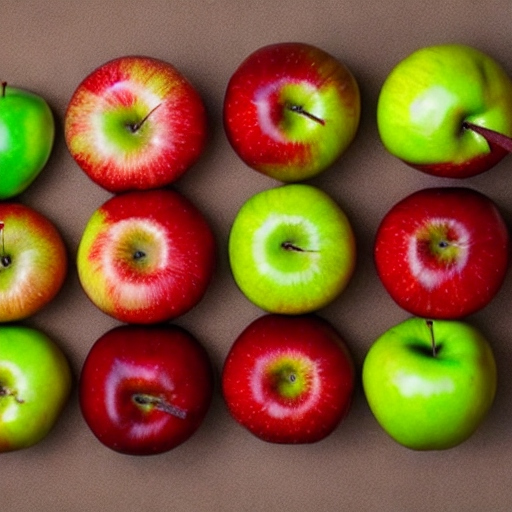
When embarking on the journey of DIY apple cider vinegar, the choice of apple varieties significantly influences the flavor and characteristics of the final product. Optimal selections strike a delicate balance of sweetness, acidity, and nuanced flavors. Varieties such as Granny Smith and Jonathan apples are celebrated for their high acidity, imparting a crisp and tart note to the vinegar. On the sweeter side, Gala and Fuji apples contribute a milder sweetness, harmonizing the overall taste profile. Blending different apple varieties offers complexity, with each bringing unique attributes to the concoction. Experimentation with a mix of sweet and tart apples allows for a personalized cider vinegar experience, ensuring a delightful and well-balanced end product.
II. DIY Apple Cider Vinegar: Step-by-Step Guide
A. Gathering Ingredients and Equipment
For a successful DIY apple cider vinegar fermentation, gathering the right ingredients and equipment is crucial. Here’s a comprehensive list to ensure a smooth process, with an emphasis on using organic apples for optimal results:
Ingredients:
- Organic Apples: Choose a mix of sweet and tart varieties for complexity.
- Filtered Water: Free from chlorine or other impurities that may hinder fermentation.
- Organic Cane Sugar or Honey: Provides initial sugars for yeast fermentation.
- Previous Batch of Apple Cider Vinegar (with Mother): Acts as a starter culture to kickstart fermentation.
- Optional Flavor Enhancements: Herbs, fruits, or spices for creative variations.
Equipment:
- Large Glass or Ceramic Container: Non-reactive vessels like glass or ceramic are ideal for fermentation.
- Cheesecloth or Coffee Filter: To cover the container, allowing air exchange while keeping out debris.
- Rubber Band or String: Secures the covering over the container.
- Wooden Spoon or Stirring Utensil: For mixing and stirring during the process.
- pH Strips or Meter: Monitors acidity levels for optimal fermentation.
- Glass Bottles with Tight-Sealing Lids: For storing the finished vinegar.
- Funnel: Facilitates the transfer of liquid without spillage.
- Labels and Marker: Helps keep track of the fermentation timeline and any added flavors.
- Dark Cloth or Towel: Protects the container from direct sunlight, which can impede fermentation.
Always prioritize organic apples to avoid pesticides and chemicals that might disrupt the natural fermentation process. Using high-quality, organic ingredients enhances the overall flavor and nutritional profile of the homemade apple cider vinegar.
B. The Crushing and Pressing Ritual
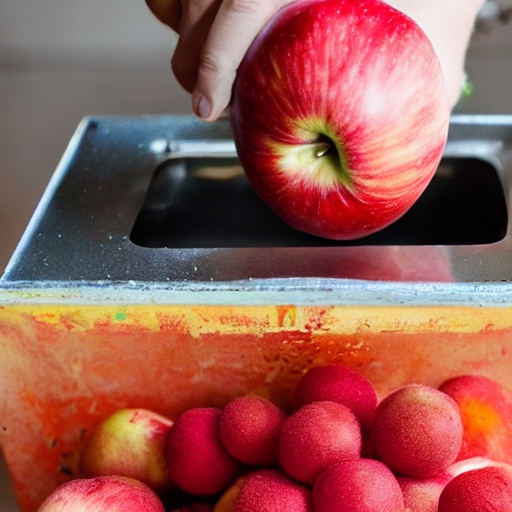
Creating DIY apple cider vinegar starts with extracting fresh juice from high-quality apples. Follow these steps for optimal results:
- Select Fresh and High-Quality Apples:
Begin with a selection of crisp, ripe apples. Opt for varieties with a balanced sweetness and acidity. Choosing organic apples ensures a cleaner, pesticide-free juice, enhancing the overall quality of the vinegar. - Wash and Prepare Apples:
Thoroughly wash the apples to remove any dirt or residues. Remove stems and any damaged parts. Keeping the skin on adds complexity to the flavor. - Crush or Chop Apples:
Use a fruit crusher, food processor, or chop the apples into small pieces. Crushing the apples increases the surface area, aiding in juice extraction. - Press the Apples:
Employ a cider press to extract juice efficiently. For a DIY approach, wrap the crushed apples in cheesecloth and press using a clean, sanitized object or a purpose-built press. The goal is to separate the liquid from the solids. - Emphasize Freshness:
Work swiftly to prevent oxidation, which can affect the quality of the juice. Freshly extracted juice contributes to the vibrant flavors and robust fermentation of the cider vinegar. - Strain for Clarity:
To enhance the clarity of the juice, strain it through fine cheesecloth or a mesh strainer. This step helps remove larger particles and sediment. - Measure Sugar Content:
Assess the sugar content of the juice with a hydrometer. This measurement provides insight into potential alcohol content and aids in achieving the desired balance for fermentation.
By prioritizing fresh, high-quality apples, you lay the foundation for a flavorful and wholesome DIY apple cider vinegar. The freshness of the juice not only influences the taste but also ensures a robust fermentation process, setting the stage for a successful homemade creation.
C. Initiating Fermentation
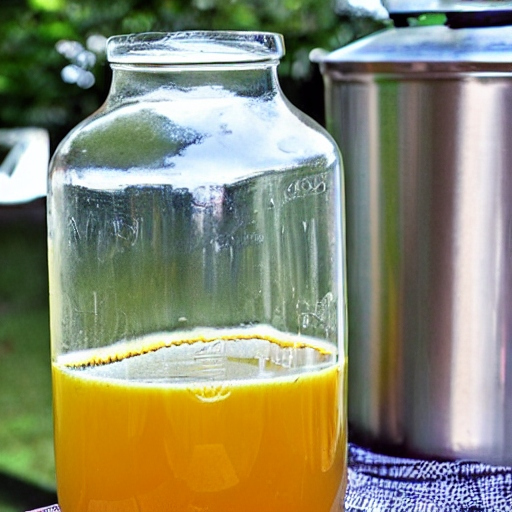
Initiating fermentation is a pivotal stage in crafting homemade apple cider vinegar. Here’s a step-by-step guide, emphasizing key actions for success:
- Prepare the Vessel: Choose a clean, sanitized glass or ceramic container.
- Add Juice: Pour room-temperature fresh apple juice into the vessel.
- Introduce Sugars: Add organic cane sugar or honey to boost fermentable sugars.
- Inoculate with Mother Culture: Include a small amount of previous apple cider vinegar as a starter.
- Allow Aeration: Cover with cheesecloth for oxygen exchange while preventing debris entry.
- Maintain Temperature: Keep the vessel in a stable 60-80°F (15-27°C) environment.
- Monitor pH: Check acidity levels regularly, aiming for a pH around 4.
- Be Patient: Allow several weeks for fermentation, tasting occasionally for acidity and flavor development.
By following these streamlined steps, you kickstart a successful fermentation process, transforming apple juice into the distinctive taste of homemade apple cider vinegar.
III. Patience is a Virtue: Monitoring the Fermentation Process
A. The Waiting Game
Patience is the unsung hero in the fermentation journey from apple juice to vinegar. This gradual process unfolds over several weeks, marked by key milestones that transform simple juice into the tangy elixir of apple cider vinegar.
1. Initial Fermentation (2-4 Weeks):
In the first weeks, yeast converts sugars into alcohol, initiating alcoholic fermentation. The mixture may bubble as carbon dioxide is released. Patience is crucial as the yeast lays the groundwork for the next phase.
2. Acetobacter Takes Over (3-6 Weeks):
Acetobacter, the acetic acid bacteria, steps in, converting alcohol into acetic acid. This transition defines the true vinegar stage. While the process is underway, flavors mature, and the acidity gradually intensifies.
3. Maturation (6-8 Weeks and Beyond):
As the weeks progress, the vinegar matures, developing its distinct flavor profile. The appearance of a gelatinous “mother” is a positive sign, indicating a thriving fermentation. This stage showcases the beauty of patience as the vinegar reaches its full potential.
Throughout this timeline, tasting the vinegar allows you to gauge its progress. Patience ensures that the flavors harmonize, resulting in a well-rounded and robust DIY apple cider vinegar. While the timeline can vary based on factors like temperature and sugar content, understanding and embracing the slow, transformative nature of fermentation is key to achieving a homemade vinegar that truly stands out.
B. Troubleshooting Tips
Fermenting DIY apple cider vinegar can encounter common concerns and pitfalls. Addressing these issues promptly ensures a successful outcome. Here are troubleshooting tips for two prevalent challenges:
1. Mold Growth:
Issue: Mold may develop on the surface, often due to improper aeration or contaminated equipment.
Solution:
- Remove the affected layer immediately.
- Ensure proper aeration by using a clean cloth or coffee filter to cover the vessel.
- Sterilize equipment thoroughly before use to prevent contamination.
2. Unpleasant Odors:
Issue: Unpleasant smells can arise during fermentation, indicating potential issues with yeast or bacterial activity.
Solution:
- Assess the odor; a vinegary scent is normal, but foul or putrid smells may indicate contamination.
- Confirm that the fermentation vessel is adequately sealed to prevent unwanted microbes.
- Check the cleanliness of utensils and containers, as contamination can lead to undesirable odors.
Remember, maintaining a sanitary environment, proper aeration, and consistent monitoring are key to a successful fermentation. When issues arise, swift intervention and adjustments to the fermentation conditions can often rectify the situation, ensuring the production of high-quality apple cider vinegar.
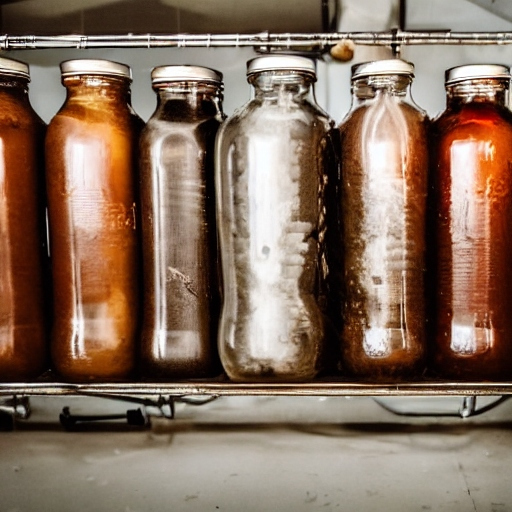
IV. Bottling Your Liquid Gold: Storing Your Homemade DIY Apple Cider Vinegar
A. Filtering and Bottling
Achieve a polished finish to your homemade DIY apple cider vinegar by following these last steps, ensuring clarity and prolonged shelf life.
- Filtering for Clarity:
- Set up a clean workspace with a fine mesh sieve or cheesecloth over a large bowl.
- Carefully pour the infused vinegar through the sieve or cheesecloth to strain out solids.
- Allow the liquid to filter naturally; avoid squeezing the solids to maintain clarity.
- Bottling for Longevity:
- Choose glass bottles with airtight lids to preserve freshness and prevent contamination.
- Employ a funnel for a mess-free transfer of the filtered vinegar into the bottles.
- Leave a small airspace at the top of each bottle to minimize oxidation and allow for expansion.
- Ensure the lids are securely sealed to maintain an anaerobic environment within the bottles.
- Label and Date:
- Clearly label each bottle with the infusion type and date of creation for easy identification.
- Store the bottled vinegar in a cool, dark place away from direct sunlight to maintain its quality.
Completing these final steps ensures that your homemade apple cider vinegar retains clarity and stays vibrant over time. Filter with care and bottle thoughtfully, and you’ll enjoy a flavorful, shelf-stable creation for various culinary delights.
V. Infusing Flavor: Creative Variations of Homemade Apple Cider Vinegar
A. Herbal Infusions

Enhancing your apple cider vinegar with flavors like rosemary, thyme, or mint is an easy and rewarding process. Here’s a straightforward guide to infuse these aromatic herbs into your vinegar:
- Gather Ingredients:
- Fresh herbs (rosemary, thyme, or mint).
- High-quality apple cider vinegar.
- Select Herb Combinations:
- Rosemary: 1-2 sprigs.
- Thyme: Small bunch of sprigs.
- Mint: Handful of leaves.
- Infusion Process:
- Clean and bruise herbs.
- Place herbs in a jar and cover with apple cider vinegar.
- Seal and let infuse in a cool, dark place for 1-2 weeks, tasting periodically.
- Straining and Storage:
- Strain out herbs using a sieve or cheesecloth.
- Transfer infused vinegar to glass bottles with airtight lids.
- Culinary Enjoyment:
- Use in salad dressings, marinades, or beverages for a burst of herbal goodness.
B. Fruity Twists
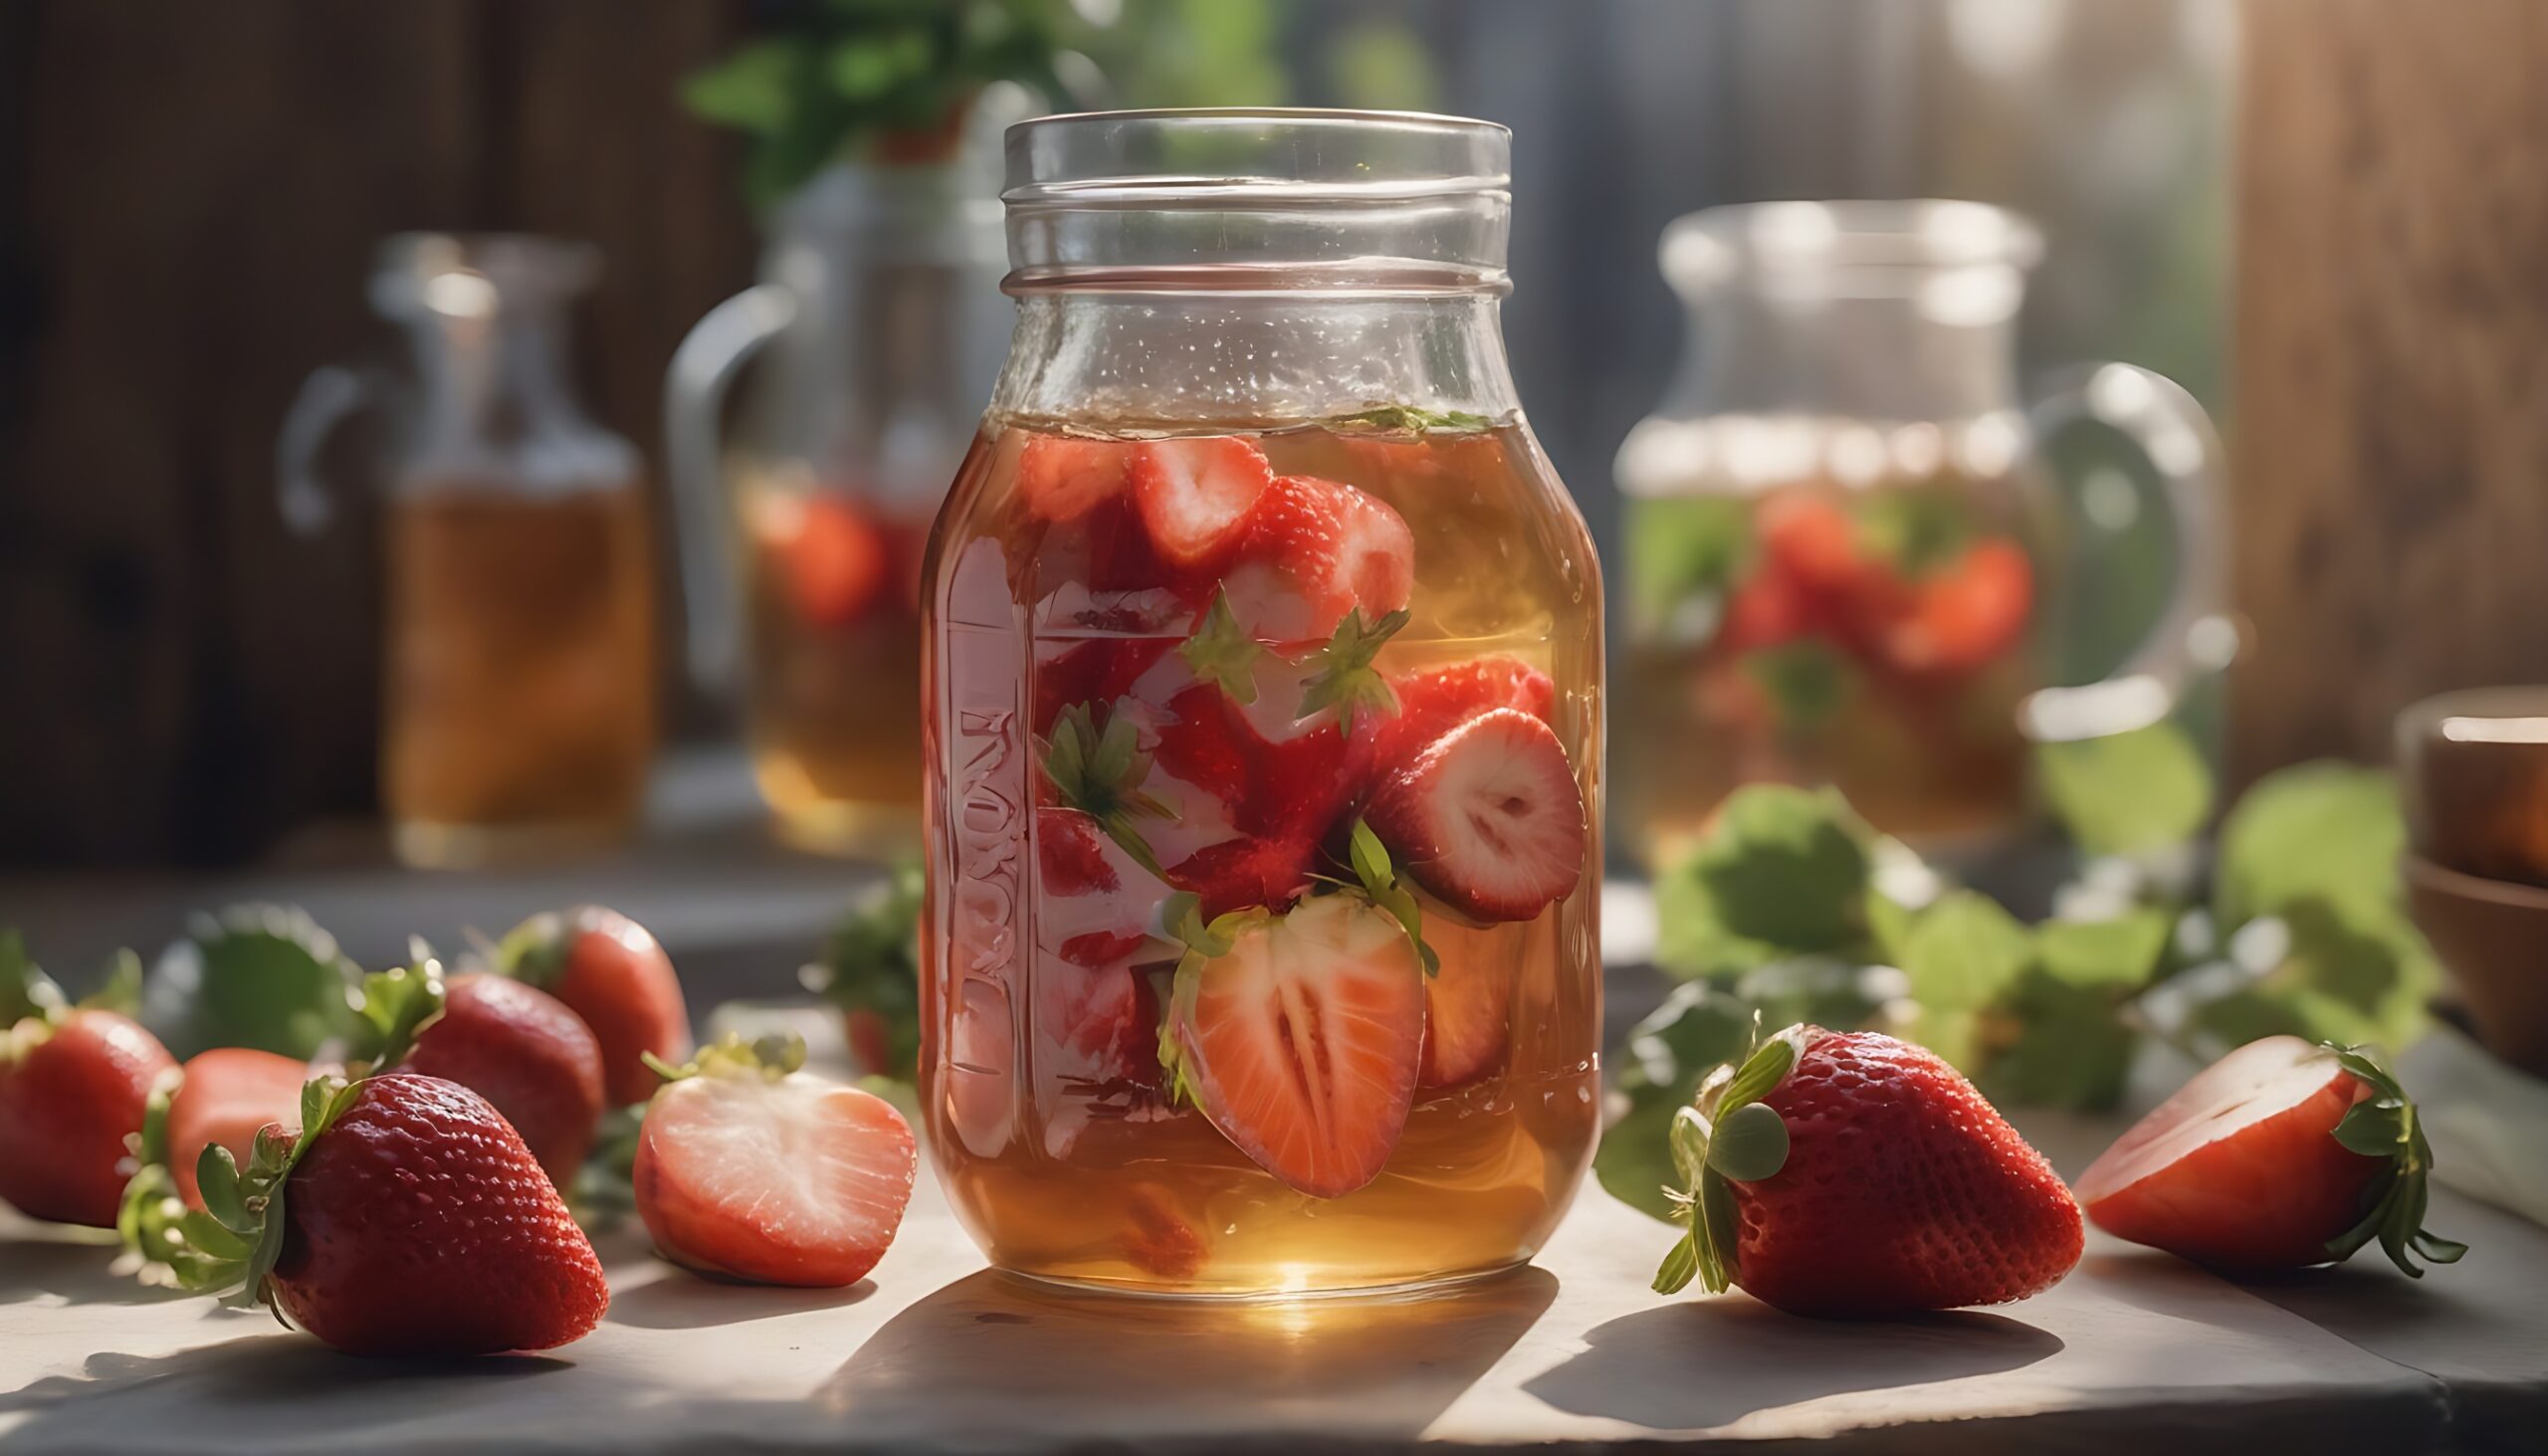
Unlock a world of creativity by infusing your DIY apple cider vinegar with the vibrant flavors of berries, citrus, or ginger. Here’s a brief guide to elevate your vinegar with a unique and personalized twist:
- Gather Ingredients:
- Berries (e.g., strawberries, blueberries, or raspberries).
- Citrus fruits (e.g., lemons, oranges, or limes).
- Fresh ginger root, peeled and sliced into thin pieces.
- Infusion Process:
- Clean and prepare the chosen ingredients.
- For berries, lightly crush or cut to release juices.
- Place berries, citrus slices, or ginger pieces in a glass jar.
- Cover the ingredients with apple cider vinegar, ensuring they are fully immersed.
- Infusion Time:
- Seal the jar and let it sit in a cool, dark place.
- Taste periodically over 1-2 weeks to monitor flavor development.
- Strain and Store:
- Strain out solids.
- Transfer infused vinegar to glass bottles with airtight lids.
- Culinary Enjoyment:
- Create vibrant and fruity salad dressings with berry-infused vinegar.
- Use citrus-infused vinegar to elevate marinades for meats or seafood.
- Add a zesty kick to Asian-inspired dishes or beverages with ginger-infused vinegar.
Experimenting with berries, citrus, or ginger offers an exciting array of flavor possibilities for your apple cider vinegar. Let your taste buds guide you as you craft a uniquely personalized and versatile culinary companion.
Conclusion: Cheers to Your Homemade Creation!
As your DIY apple cider vinegar journey comes to an end, raise a toast to your homemade creation. By mastering the art of fermentation, you’ve not only crafted a versatile kitchen staple but also connected with the age-old tradition of making your own culinary wonders. Enjoy the fruits (or rather, the vinegar) of your labor!


I’ll sure be making it.