

Introduction:
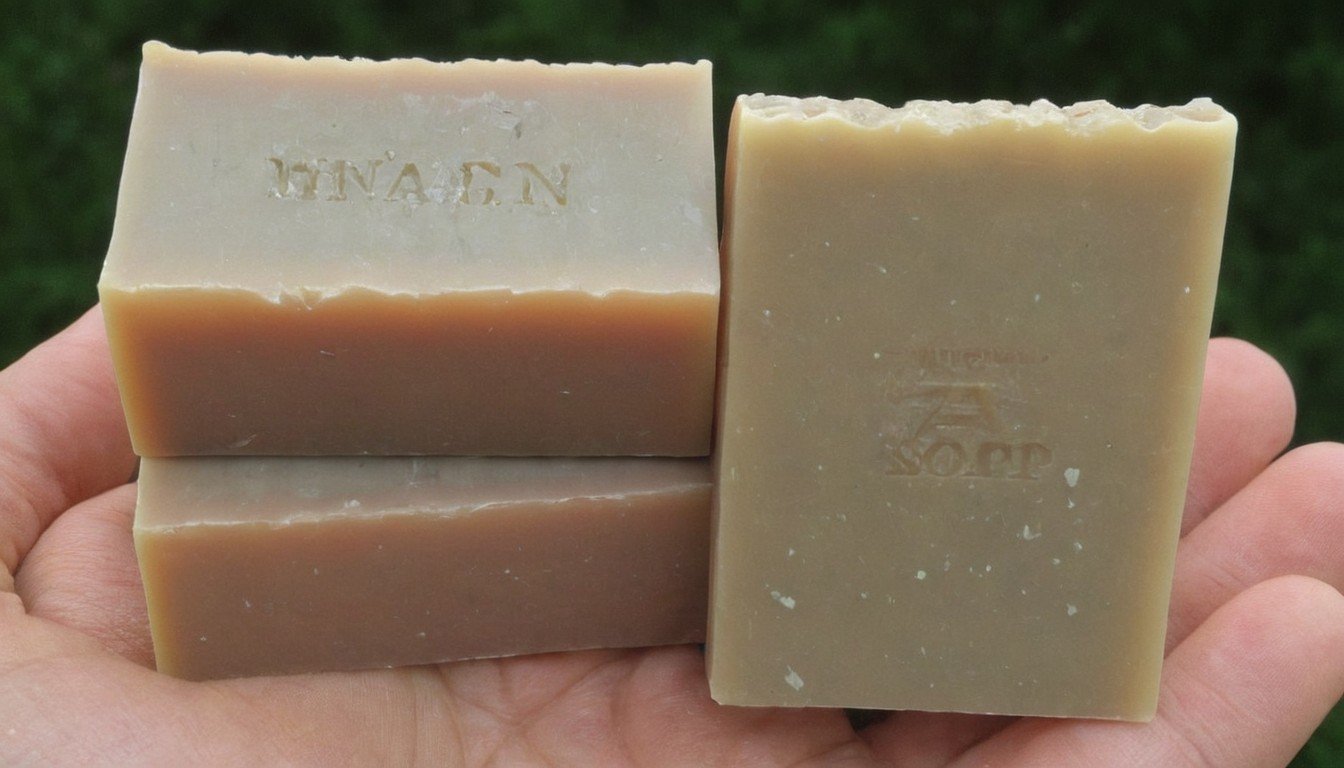
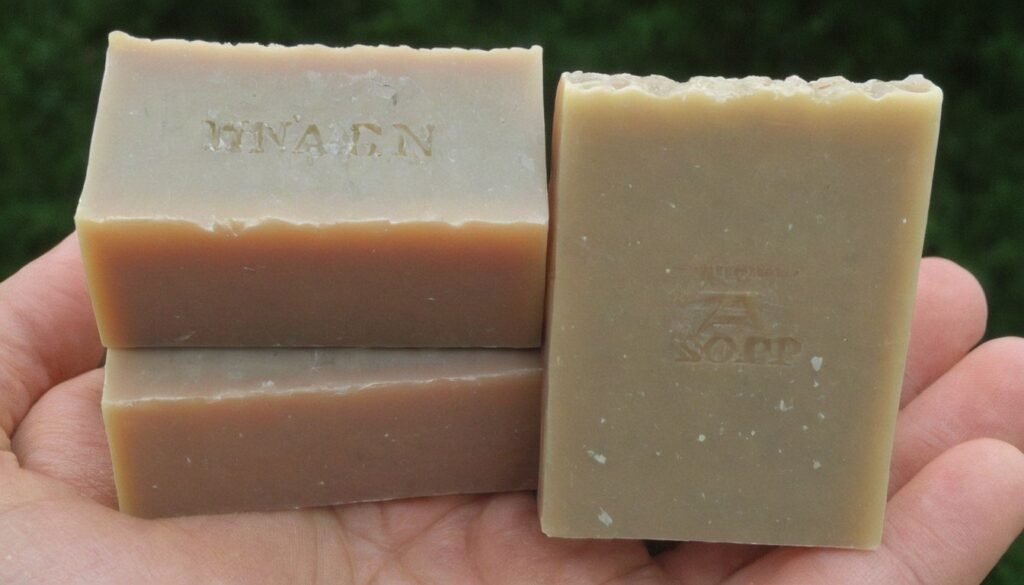
Embarking on the art of skincare, DIY homemade soap bars beckon with an alluring blend of simplicity and luxury. Amidst a sea of commercial options brimming with chemicals, the appeal of crafting your soap becomes a beacon of customization and purity. Venturing beyond store-bought cleansers, this DIY approach allows you to curate ingredients tailored to your skin’s unique needs. The allure lies not just in the final product, but in the therapeutic process itself, where creativity meets practicality. Choose oils, mix lye, blend to trace, and add personalized touches for a rewarding endeavor. Join us in delving into the world of soap-making, where crafting your cleansing routine becomes a delightful, eco-friendly, and self-expressive journey with DIY homemade soap bars at its core.
Why DIY Homemade Soap Bars?
Customization
Within the skincare realm, the magnetic appeal of crafting DIY homemade soap bars resides in unparalleled customization. Immersing yourself in the art of soap making grants you the authority to meticulously curate a cleansing concoction precisely attuned to your skin’s distinctive needs. This DIY approach’s beauty unfolds as you specifically tackle concerns like dryness, sensitivity, or acne, ensuring that your soap metamorphoses into a personalized elixir for achieving radiant skin.
Natural Ingredients
Standing in stark contrast to commercially infused soaps brimming with harsh chemicals, crafting homemade soap invites you into a sanctuary of natural indulgence. Wave goodbye to skin-stripping agents, for your DIY creations serve as a canvas for embracing enriching elements such as coconut oil, shea butter, and essential oils. The outcome? A more delicate, holistic cleansing experience that not only nourishes your skin but also harmonizes with the delicate balance of nature.
Eco-Friendly Living
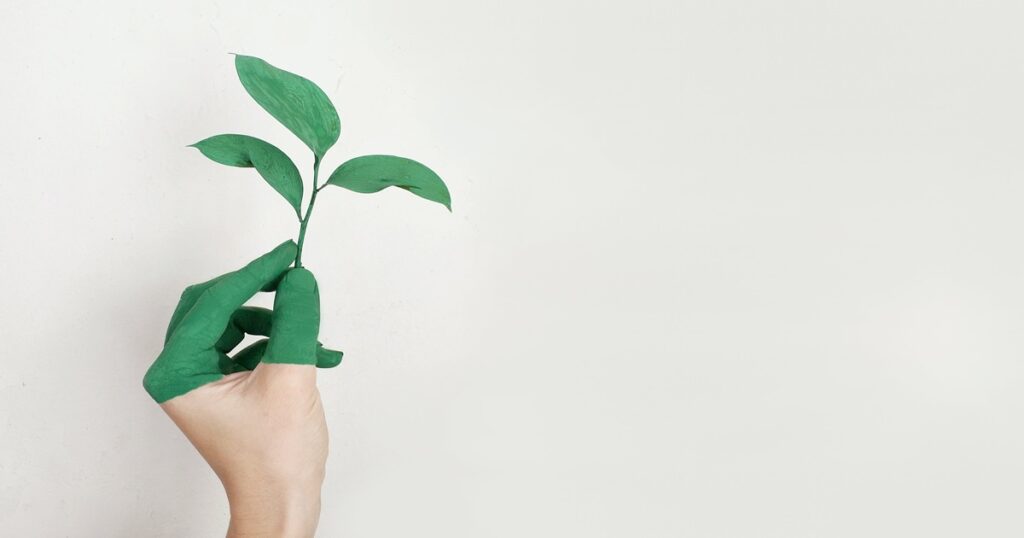
Look beyond personal skincare benefits, as the choice to craft your own soap extends a verdant embrace toward eco-friendliness. With DIY homemade soap bars, you assume a pivotal role in diminishing your environmental footprint. Minimal packaging emerges as a hallmark of your creations, and your deliberate ingredient choices align with sustainable, eco-friendly options. The power to foster a cleaner planet lies in your hands, shaping a more environmentally conscious future through the thoughtful crafting of these cleansing companions.
The journey of crafting DIY homemade soap bars is a trifecta of empowerment – customization, natural indulgence, and environmental consciousness. With each lather, you not only treat your skin to a tailored spa-like experience but also contribute to a more sustainable and mindful approach to skincare, echoing the beauty of simplicity and purpose in your daily routine.
DIY Homemade Soap Bars: Equipments and Ingredients
Starting the journey of crafting DIY homemade soap bars requires some essential equipments and carefully chosen ingredients. Let’s delve into the tools and materials that will transform your soap-making endeavor into a seamless and rewarding experience.
Essential Equipments and Ingredients for DIY Homemade Soap Bars:
| Ingredients | Equipments |
| 1. Base oils | 1. Safety Gear |
| 2. Lye (Sodiam Hydroxide) | 2. Weighing Tools |
| 3. Liquid Medium | 3. Mixing Bowls |
| 4. Essential oils or natural additives (optional) | 4. Blending Tools |
| 5. Soap Molds | |
| 6. Containers for Lye Solution |
Equipments:
Safety Gears
Prioritize safety with gloves, safety goggles, and attire covering your arms and legs.
Weighing Tools
A digital kitchen scale is indispensable for precise measurement of oils and lye.
Blending Tool
A stick blender proves crucial for achieving the desired consistency during the mixing process.
Soap Molds
Choose molds that cater to your aesthetic preferences and desired soap bar shape.
Containers for Lye Solution
Utilize appropriate containers for mixing lye with liquid, ensuring a safe and controlled process.
Ingredients:
Base Oils
Essential components like olive oil, coconut oil, shea butter, and castor oil provide the soap’s foundation.
Lye (Sodium Hydroxide)
The cornerstone of soap-making, lye initiates the saponification process transforming oils into soap.
Liquid Medium
Whether water, herbal tea, or goat milk, the liquid component combines with lye for the soap base.
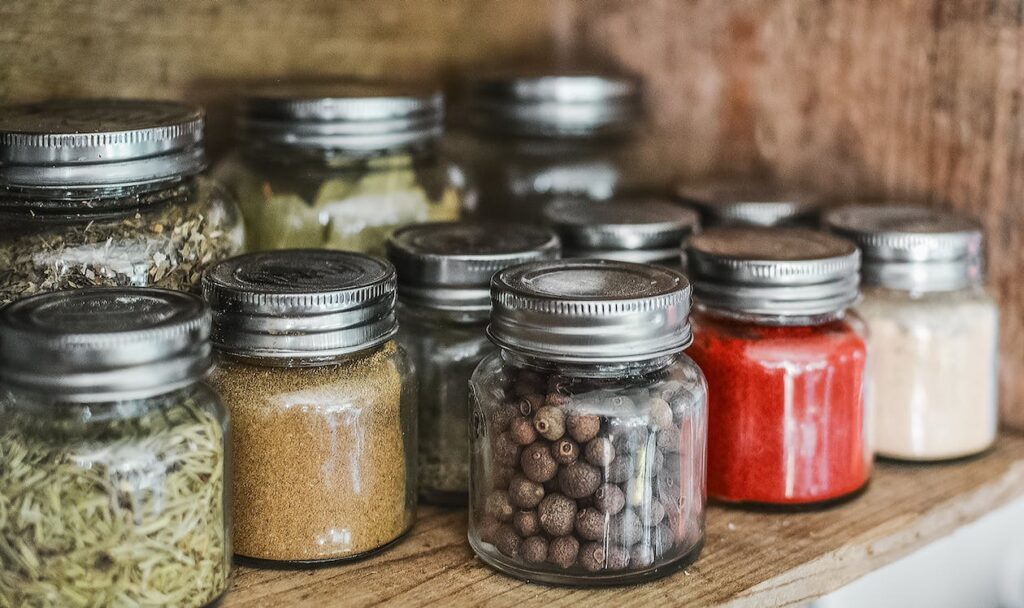
Extras for Customization
Elevate your DIY soap bars by incorporating essential oils for fragrance and natural additives like herbs or exfoliants.
Transitioning between Equipment and Ingredients:
As you assemble your equipment, ensuring a secure soap-making environment is paramount. Safety gear becomes your shield, allowing you to focus on the intricate process ahead. Once protected, the digital kitchen scale steps into play, becoming the architect of precise measurements, ensuring the perfect balance of oils and lye. Transitioning seamlessly, the chosen mixing bowls stand ready, as robust vessels to amalgamate the concoction.
Equipped with your safety gear and essential tools, the journey transitions into the realm of ingredients. Base oils take center stage, forming the backbone of your DIY homemade soap bars. These oils, when combined with the essential component of lye, set the stage for the transformative saponification process.
Transitioning to the liquid medium, it becomes the binding agent, merging with lye to create the foundational soap base. Extras, such as fragrant essential oils and natural additives, allow you to infuse your soap bars with a personal touch.
As you navigate this harmonious blend of equipment and ingredients, each element plays a crucial role in the alchemy of creating DIY homemade soap bars. Together, they usher in a creative and fulfilling journey, where safety, precision, and customization converge to shape your own cleansing companions.
Step-by-Step Process:
Making your own DIY homemade soap bars is like crafting a unique piece of art. Once you have your ingredients and tools ready, the process unfolds smoothly, blending creativity and precision.
Getting Started: Staying Safe and Mixing Oils
First, put on safety gear to protect yourself. Look at the oils, which are like the colors on your palette. Each oil is full of good things for your skin, and you get to choose which ones to use.
Next, add lye to a liquid, starting a chemical process called saponification. It’s like magic! The mixture thickens, becoming a bit like pudding.
Blending and Customizing: Using the Stick Blender
Now, the stick blender comes into play. It swirls through the mix, making it thicker until it reaches a point called “trace.” This is when your soap starts to take shape.
Time to add personal touches! Essential oils bring a nice smell, making your soap unique. Natural extras like herbs or grains give your soap character.
Molding Your Creation: Pouring and Shaping
Pour the mix into chosen molds, tapping them gently to remove air bubbles. Your soap is now taking the form you imagined. It’s like pouring liquid soap into fun shapes.
Waiting for the Final Act: Patience and Curing
Now, it’s time to wait. Let your soap sit in the molds for a while. This waiting period is called curing, where your soap becomes solid and ready to use. Patience is essential here.
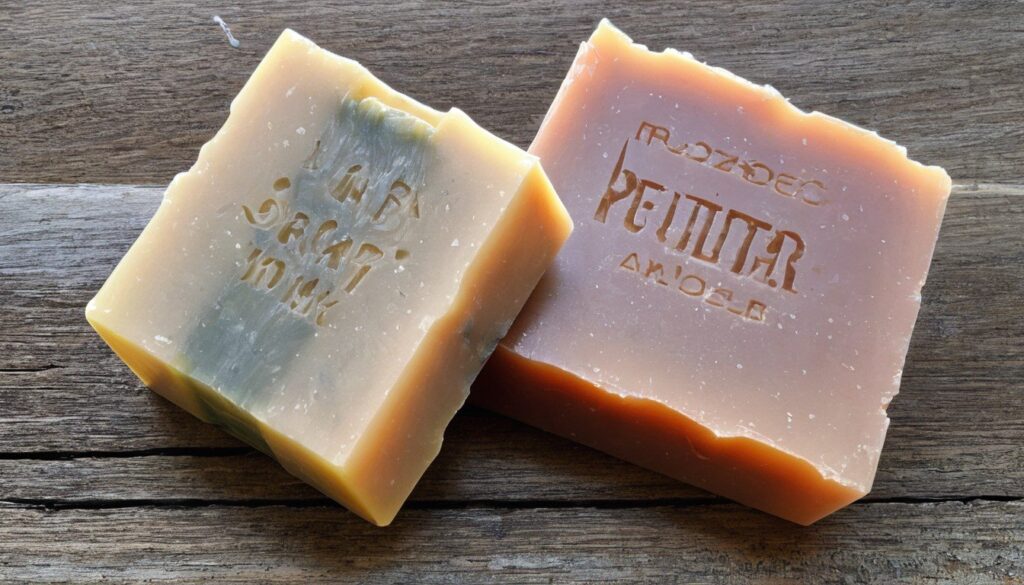
The Grand Finale: Cutting and Unveiling Your Soap Bars
Finally, cut your soap into bars. Each cut reveals the result of your creative effort. Your DIY homemade soap bars are now ready to bring a touch of your personality to your skincare routine. The journey from oils and lye to a real soap bar is not just a task; it’s a fun and transforming experience, showing that anyone can make their own special soap!
Adding Your Touch: Personalizing DIY Homemade Soap Bars
To make your DIY homemade soap bars extra special, consider these easy customizations.
1. Creative Colors and Scents
- Experiment with different colors and scents. Add a few drops of your favorite essential oil for fragrance.
2. Texture Play
- Play with textures by adding things like oatmeal for a gentle scrub or lavender buds for charm.
3. Mold Magic
- Choose fun molds for unique shapes. Think hearts, stars, or even animal shapes to make it fun.
4. Layered Beauty
- Try layering colors to create a beautiful, multicolored effect in your soap bars.
5. Natural Additions
- Sprinkle in herbs, like mint or chamomile, for a natural and soothing touch.
6. Surprise Elements
- Embed small surprises like flower petals for a delightful experience as you use your soap.
7. Labeling Fun
- Create labels for your DIY homemade soap bars. This adds a personal touch and makes great gifts.
8. Experiment and Enjoy
- Don’t be afraid to try new things. Experimenting with different ingredients makes soap-making enjoyable and unique.
Customizing your DIY homemade soap bars is like creating your own piece of art. Let your creativity shine, and soon, you’ll have personalized soap that suits your style and preferences.
Conclusion:
In wrapping up, making DIY homemade soap bars is like making your own special gifts for your skin. By choosing ingredients and adding personal touches, you create soap that feels just right for you. It’s not just about cleaning; it’s about having fun and making something uniquely yours. So, gather your materials, mix them up, and enjoy the process of creating soap that makes you happy. With a bit of creativity, patience, and experimentation, you’ll have a bunch of delightful soap bars that are as special as you are. Dive into the world of DIY soap-making, and let your imagination be the guide to skincare joy!