In today’s world, we’re drowning in mass-produced items. Making your accessories unique is like taking back your individuality. DIY customization isn’t just for fun; it’s a way to create pieces that truly reflect you, all while keeping your wallet happy. In this blog post, we’re going to explore the exciting world of DIY. We’ll share secrets on how to make your average accessories stand out. Join us as we learn how easy, affordable techniques can transform your items. They become your canvas for showing off who you are. Ready for this DIY adventure? Together, we’ll explore endless ways to add a personal touch to your everyday items, making them truly your own.
DIY Personalization: Revamp with Fabric and Textiles:
Adding fabric and textiles to your accessories gives them a fresh, eye-catching look. Dig through your closet or check out thrift stores for old scarves, patches, or unused clothing. These pieces become your canvas for creativity, letting you transform simple items. Take a plain handbag or a boring hat, for example. Adding textiles adds texture, color, and personality to them. In the next sections, we’ll share some fun ideas. Plus, you’ll get a step-by-step guide on becoming a pro at fabric and textile customization.
Ideas for Fabric and Textile Customization:

Patchwork Panache:
- Gather an assortment of fabric patches in varying patterns and sizes.
- Arrange them on your accessory, experimenting with different layouts until you find the perfect combination.
- Use fabric glue or sew the patches in place for a trendy, eclectic look.
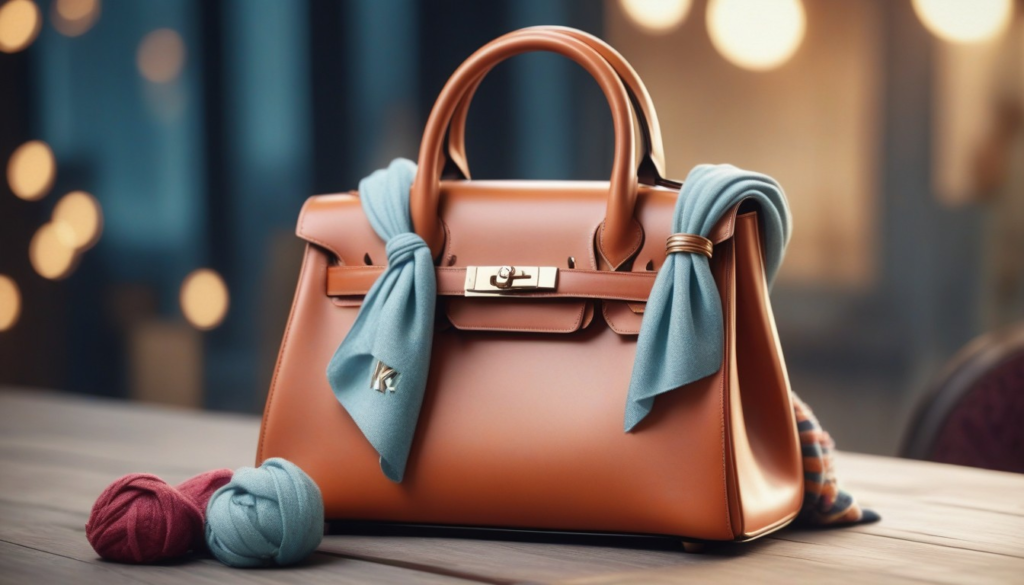
Scarf-Infused Style:
- Transform a plain handbag by wrapping and securing a vibrant scarf around the handle.
- Experiment with different scarf styles and knots to achieve diverse looks that complement your outfit.
Step-by-Step Guide to Fabric and Textile Customization:
Gather Materials:
- Collect the fabric or textile pieces you want to use.
- Ensure you have fabric glue, a needle, and thread (if sewing), and scissors.
Clean and Prepare:
- Clean the accessory to ensure a smooth application.
- If needed, cut or trim the fabric pieces to fit the desired areas.
Placement Planning:
- Lay out the fabric pieces on the accessory to plan the design.
- Consider color coordination and placement for an aesthetically pleasing result.
Secure in Place:
- Apply fabric glue or start sewing to secure the fabric pieces in their designated spots.
- Be patient and allow sufficient drying time for the glue to set.
Finishing Touches:
- Trim any excess fabric and ensure all edges are secure.
- Consider adding additional embellishments like buttons or beads for extra flair.
With these tips, you’re ready to start your DIY adventure in fabric and textiles. You can make custom accessories that stand out as unique art pieces you can wear.
Make DIY Custom Accessories: Paint Your Personality
Painting turns plain accessories into colorful masterpieces. It’s your go-to for self-expression. Old sneakers or plain mugs? No problem. A canvas tote looks too simple? Fix it with acrylics. This DIY method lets you paint your vibe on daily items. They become cool reflections of you. Below, we’ll dig into fun ideas to make custom accessories. Plus, you get a step-by-step guide. Ready to find your inner artist? Let’s go.
Ideas for Painting Your Personality:

Stencil Stories:
- Use stencils to create intricate patterns or themed designs on accessories.
- Choose motifs that resonate with your interests, from nature elements to geometric shapes.
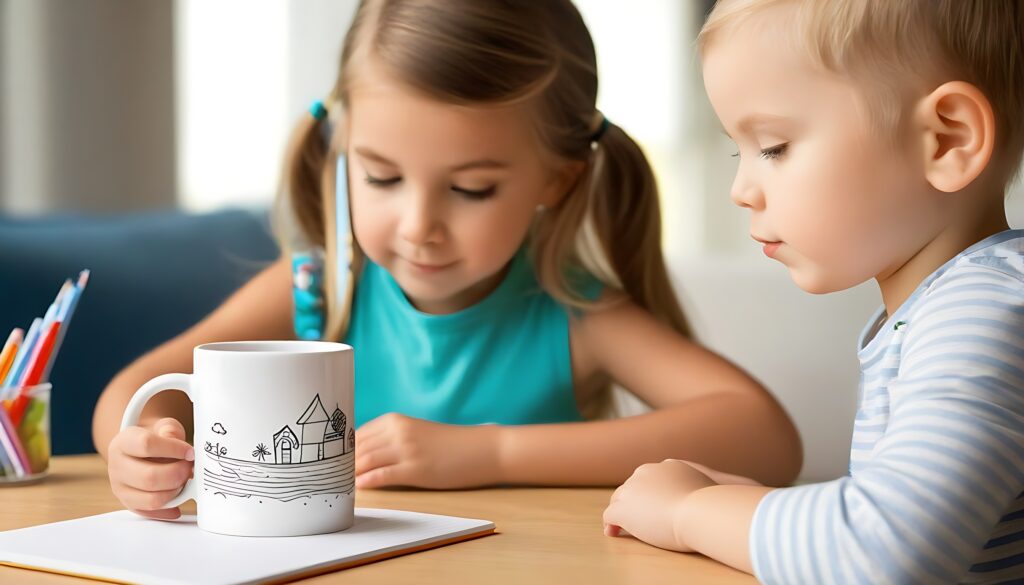
Freehand Flourishes:
- Embrace the freedom of freehand painting to create organic and spontaneous designs.
- Experiment with bold strokes, swirls, and personalized symbols that represent your personality.
Step-by-Step Guide to Painting Your Personality:
Gather Supplies:
- Acquire acrylic paints in your preferred colors and various brush sizes.
- Depending on the material of your accessory, consider primer or a base coat.
Clean and Prep:
- Ensure the accessory’s surface is clean and dry before starting.
- Apply a primer or base coat if needed, especially for items like sneakers, bags, or even mugs and cups to meet your daily water goals.
Plan Your Design:
- Sketch or plan your design on paper before applying it to the accessory.
- Consider the overall composition and color scheme.
Start Painting:
- Begin painting your chosen design onto the accessory.
- Layer colors and let each coat dry before adding the next for a vibrant result.
Detail Work:
- Add intricate details or accents once the base layers are dry.
- This is the stage to refine your design and make any necessary adjustments.
Seal and Protect:
- Apply a clear sealant or varnish to protect the painted surface.
- Allow ample drying time before using or wearing the customized accessory.
Get ready for a fun painting adventure! With these easy-to-follow steps, you’ll learn how to make custom accessories. Transform your items into unique, hand-painted treasures. It’s time to personalize your accessories like never before.
DIY Personalization: Beads and Baubles
Boost your accessories game by getting into beads and baubles. It’s a cheap and easy way to DIY your way to cool, personalized gear. You can make custom accessories like bracelets, necklaces, or hair pieces come to life. Beads add that special touch. They’re all about adding your own spin and charm. We’re going to show you fun ways to use beads and baubles. Plus, we’ll walk you through how to make custom accessories step by step. Get ready to get crafty and stand out with your very own bead creations.
Ideas for Beads and Baubles:

Bracelet Bliss:
- Revitalize a simple bracelet by adding an array of beads in complementary colors.
- Experiment with different bead sizes, shapes, and materials for a textured and dynamic look.

Necklace Transformation:
- String beads onto a plain chain to create a customized necklace.
- Mix and match beads with unique colors and patterns to reflect your personal style.
Step-by-Step Guide to Beads and Baubles Customization:
Gather Materials:
- Collect an assortment of beads and baubles that appeal to you.
- Ensure you have the appropriate stringing material, whether it’s wire, cord, or elastic.
Design Planning:
- Sketch or plan the design of your accessory, considering bead placement and arrangement.
- Determine the length of the stringing material based on the desired size of the accessory.
Stringing Beads:
- Start stringing the beads onto the chosen material, following your design plan.
- Experiment with different sequences and patterns for a visually engaging result.
Secure Endings:
- Once all beads are in place, secure the ends of the stringing material.
- Depending on the material, this may involve tying knots, using crimps, or attaching clasps.
Personal Touch:
- Add personal touches, such as charms or focal beads, to make your accessory even more unique.
- Consider incorporating meaningful symbols or colors that resonate with you.
Test and Adjust:
- Test the fit of your customized accessory and make any necessary adjustments.
- Ensure the beads are securely in place, and the design aligns with your vision.
With these ideas and step-by-step instructions, you can embark on a bead and bauble DIY personalization journey, turning ordinary accessories into personalized statements that reflect your distinct style.
Decoupage Delight
Get creative and give your accessories a new life with decoupage. This method lets you apply paper cutouts to almost anything. It’s a fun way to make custom accessories. Turn an old box, a simple notebook, or a phone case into something special. With decoupage, you show off your style with images and patterns. Below, we’ll share exciting decoupage tips. Plus, a step-by-step guide to make custom accessories that stand out.
Ideas for Decoupage Customization:

Vintage Vibes:
- Select vintage images, such as postcards or magazine cutouts, to give your accessories a timeless charm.
- Apply these images strategically, creating a collage that tells a story or reflects a particular theme.

Botanical Beauty:
- Explore the world of nature by incorporating botanical prints into your decoupage design.
- Use images of flowers, leaves, or even pressed plants to create a refreshing and organic aesthetic.
Step-by-Step Guide to Decoupage Customization:
Gather Materials:
- Collect images or prints for decoupage. These can be from magazines, old books, or even digital prints.
- Ensure you have decoupage glue, a brush, and a clear sealant.
Prepare the Surface:
- Clean the accessory’s surface and ensure it’s dry before applying the decoupage.
- Sanding may be necessary for a smoother finish, especially on wooden surfaces.
Cut and Arrange:
- Cut out your chosen images or patterns, arranging them on the accessory to plan the design.
- Experiment with placements until you find a visually pleasing composition.
Decoupage Application:
- Apply a thin layer of decoupage glue to the surface using a brush.
- Carefully place the cutouts onto the glued surface, smoothing out any air bubbles or wrinkles.
Layer and Seal:
- Repeat the process, layering the cutouts as desired.
- Once satisfied, apply another layer of decoupage glue over the entire surface to seal and protect the design.
Drying Time:
- Allow the accessory to dry completely before handling or using it.
- This ensures a durable and long-lasting decoupage finish.
Final Touches:
- Apply a clear sealant or varnish for added protection and a polished look.
- Enjoy your personalized, decoupaged accessory that tells a unique visual story.
Explore decoupage with these simple steps! You can easily make custom accessories. Turn your items into unique art. Show off your personal style this way.
Embroidery Embellishments:
Boost your style with cool embroidery. It’s a green way to make custom accessories stand out. Personalize bits like hats, bags, or phone cases with embroidery. It adds a personal touch. Embroidery feels good and looks great, giving your items a unique vibe. Next up, we’ll share fun ideas for adding embroidery. Plus, we’ll show you how to stitch your way to custom creations.
Ideas for Embroidery Embellishments:

Nature-Inspired Accents:
- Embroider floral motifs, leaves, or butterflies for a nature-inspired embellishment.
- Use a variety of thread colors to bring your embroidery to life and create a vibrant, organic look.
Personalized Monograms:
- Add an elegant touch by embroidering your initials or a meaningful monogram onto accessories.
- Experiment with different fonts and styles to match your personal aesthetic.
Step-by-Step Guide to Embroidery Embellishments:
Gather Materials:
- Collect embroidery hoops, needles, embroidery floss in your chosen colors, and the accessory you want to embellish.
- Consider using a water-soluble fabric marker to sketch your design onto the accessory.
Select a Design:
- Choose or create a design that complements the accessory’s shape and size.
- Simpler designs are ideal for beginners, while intricate patterns may require more advanced embroidery skills.
Secure the Fabric:
- Secure the accessory in the embroidery hoop, ensuring the fabric is taut.
- If necessary, use an embroidery stabilizer to provide extra support.
Transfer the Design:
- Transfer your chosen design onto the fabric using a fabric marker.
- This step helps guide your embroidery stitches and ensures a neat and accurate result.
Embroidery Stitches:
- Use basic stitches like backstitch, satin stitch, or French knots to bring your design to life.
- Experiment with different stitch lengths and thread thickness for varied textures.
Color Coordination:
- Plan your color scheme before starting, considering how each thread color contributes to the overall design.
- Mixing and matching colors can add depth and visual interest to your embroidery.
Finishing Touches:
- Once the embroidery is complete, carefully remove the fabric from the hoop.
- Trim any excess threads and inspect the design for any loose stitches.
Enjoy Your Embellished Accessory:
- Admire and proudly wear or display your personalized, embroidered accessory.
- The handcrafted touch adds a unique flair to your belongings, making them stand out in style.
Ready to turn your accessories into unique, wearable art? With our easy-to-follow steps, you can now start your embroidery project. It’s a cool way to make custom accessories. Show off your creativity and unique style with every piece you create.
Dyeing for a Change:
Add a splash of color to your accessories with ease. Dyeing is a fun, wallet-friendly option to refresh your look. It lets you play with colors to match your style. Got old jeans or a dull scarf? Maybe a plain tote bag? Dyeing turns these into unique, custom pieces. Ready to make custom accessories? We’ve got cool dyeing ideas and a simple guide for you. Achieve the perfect splash of color following our tips.
Ideas for Dyeing Your Accessories:
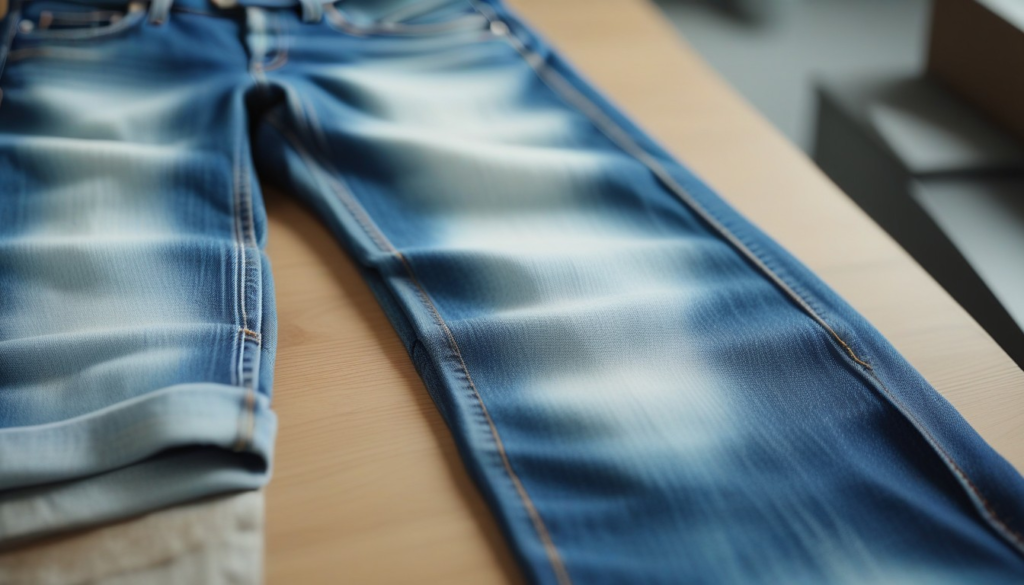
Dip-Dye Delight:
- Create a gradient effect by dip-dyeing your accessory in a vibrant dye bath.
- Experiment with different immersion depths to achieve varied color intensity.
Tie-Dye Techniques:
- Embrace the timeless tie-dye method by twisting, folding, or tying your accessory before applying the dye.
- This technique results in unique and unpredictable patterns that add a bohemian touch.
Step-by-Step Guide to Dyeing Your Accessories:
Gather Materials:
- Choose a suitable dye for your accessory material (fabric dye for textiles, leather dye for leather items, etc.).
- Have rubber gloves, a dye-friendly container, and stirring utensils on hand.
Prepare the Accessory:
- Clean the accessory thoroughly, ensuring it’s free from any dirt or residue.
- If the material is cotton or a dye-friendly fabric, dampen it to enhance dye absorption.
Mix the Dye:
- Follow the instructions on the dye packaging to prepare the dye bath.
- Experiment with different dye concentrations to achieve your desired color.
Dip or Apply Dye:
- Dip the accessory into the dye bath for an even color transformation, adjusting the immersion time for gradient effects.
- Alternatively, use a brush or sponge to apply the dye selectively for unique patterns.
Rinse and Set:
- Rinse the dyed accessory under cold water until the water runs clear.
- Follow the dye instructions to set the color, which may involve heat-setting or additional treatments.
Dry and Assess:
- Allow the accessory to air-dry completely.
- Assess the color result and make any adjustments or re-dye if needed.
Enjoy Your Colorful Creation:
- Revel in the vibrancy of your newly dyed accessory.
- Style and showcase your personalized, colorful item with pride.
Ready to add some color to your life? These easy, step-by-step guides are perfect for a fun dyeing project. Splash your accessories with color to give them a fresh, stylish look. Whether you’re into soft pastels or vivid shades, dyeing lets you get creative. It’s a great way to make custom accessories with a personal touch.
Sticker Story:
Tap into your inner artist with the simple, yet powerful world of stickers. They transform your items into a colorful showcase of your life. Think about it. Stickers aren’t just child’s play. They’re a wallet-friendly way to customize your laptop, phone, water bottles, and journals. You have so many designs to pick from! Choose stickers that mirror your hobbies, dreams, and who you are. Next up, we’ll share cool ways to make custom accessories using stickers. Plus, we’ll offer tips to make your sticker creations pop.
Ideas for Sticker Personalization:
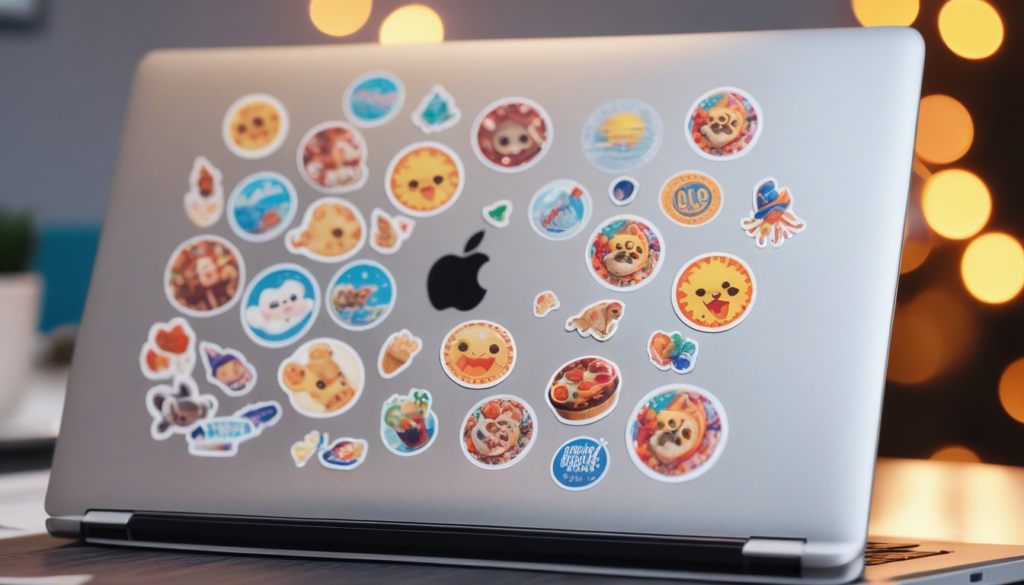
Thematic Expression:
- Curate a collection of stickers that align with a specific theme, such as nature, travel, or pop culture.
- Apply these stickers strategically to create a cohesive and visually appealing narrative.
Mix and Match:
- Don’t be afraid to mix different sticker styles, sizes, and shapes for an eclectic and dynamic look.
- Experiment with overlapping stickers to create unique combinations that showcase your diverse interests.
Step-by-Step Guide to Sticker Personalization:
Curate Your Sticker Collection:
- Gather a variety of stickers that resonate with your personality. This could include vinyl decals, die-cut stickers, or even handmade stickers.
Clean and Prep the Surface:
- Ensure the surface of your accessory is clean and dry before applying stickers.
- Wipe away any dust or debris to ensure a smooth application.
Design Placement:
- Experiment with different arrangements and placements before committing to the final design.
- Consider the contours and shape of the accessory to enhance the visual flow of the stickers.
Peel and Stick:
- Carefully peel off the backing of each sticker and apply it to the accessory.
- Use a flat edge, like a credit card, to smooth out any air bubbles and ensure a secure adhesion.
Layering Technique:
- Experiment with layering stickers to create depth and dimension.
- Consider using larger stickers as a base and layering smaller stickers on top for a visually dynamic effect.
Seal the Story:
- Once satisfied with the arrangement, consider applying a clear sealant over the stickers.
- This helps protect the stickers from wear and tear, ensuring a longer-lasting and more vibrant display.
Revel in Your Sticker Story:
- Admire your personalized accessory, now transformed into a visual representation of your interests and personality.
- Showcase your sticker-adorned items proudly, knowing each one tells a part of your unique story.
Get ready to make custom accessories with these easy DIY ideas and step-by-step guides. Start your sticker story today. Turn any accessory into a colorful canvas. Show off what makes you unique. From hobbies and passions to your favorite designs, stickers are a budget-friendly way to express yourself.
Conclusion:
Showing off your style doesn’t have to cost a lot. With creativity and basic DIY supplies, you can turn everyday items into unique treasures. Making custom accessories allows you to be different and feel proud. Plus, it creates a special bond with your everyday items. Ready to get creative? Make custom accessories and share your story in a fun way!
FAQ: DIY Personalization: Customizing Your Accessories on a Budget
Easy DIY methods for customizing accessories include painting, embroidery, adding patches or pins, using fabric markers or paint pens, decoupaging with paper or fabric, and adding embellishments like beads or sequins.
You can personalize accessories on a budget by repurposing items you already own, using inexpensive materials like acrylic paint, fabric scraps, or found objects, and shopping for supplies at thrift stores or discount retailers. Additionally, look for DIY tutorials online for inspiration and cost-effective techniques.
Yes, there are plenty of simple customization techniques that require minimal artistic skill or experience. You can start with basic techniques like adding iron-on patches or decals, using stencils for painting designs, or applying pre-made embellishments to accessories.
The durability of DIY customizations on accessories can vary depending on the materials and techniques used. Generally, hand-sewn or securely glued embellishments tend to hold up well with normal wear and tear, but it’s important to avoid excessive stretching or rough handling to prolong the lifespan of the customization.
In most cases, DIY customizations can be removed from accessories with some effort, especially if they were applied using temporary methods like fabric glue or iron-on transfers. However, permanent alterations like painting or engraving may be more challenging to reverse without damaging the accessory.
When customizing accessories, be mindful of safety precautions such as working in a well-ventilated area when using paints or adhesives, wearing gloves when handling potentially sharp or toxic materials, and following instructions carefully to avoid accidents or injuries.






Wonderful Article