

Introduction
Shaker cabinet doors are renowned for their simplicity, clean lines, and timeless appeal. If you’re looking to elevate the aesthetic of your kitchen or furniture, crafting Shaker-style cabinet doors is an excellent choice. In this step-by-step guide of how to make shaker cabinet doors, we’ll walk you through the process of making Shaker cabinet doors, allowing you to add a touch of classic elegance to your space.
Understanding Shaker Cabinet Doors
Definition of Shaker Cabinet Doors
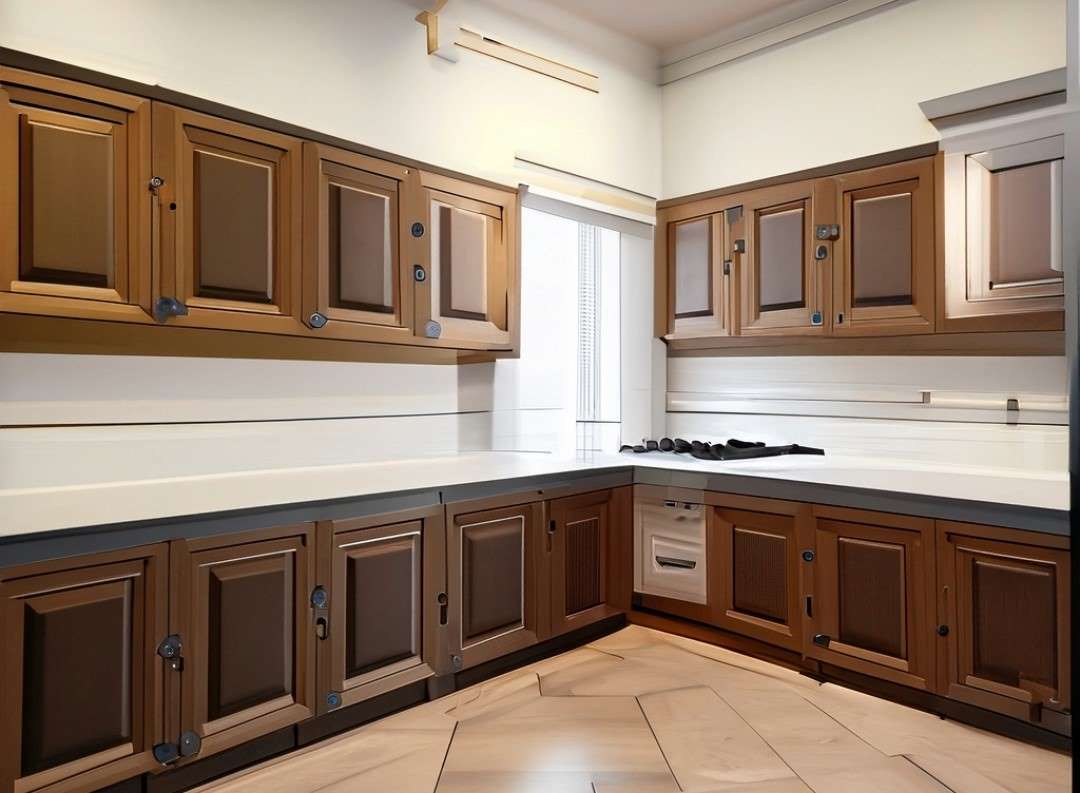
Shaker cabinet doors are a hallmark of classic design, known for their clean lines, simplicity, and enduring appeal. Originating from the Shaker communities in the 18th century, these doors have transcended time, becoming a staple in interior design. These doors are characterized by a five-piece construction, comprising a frame with four pieces and a recessed center panel. Their minimalist aesthetic makes them a versatile choice for various home decor styles, offering a timeless touch to kitchens, bathrooms, and furniture pieces alike.
Benefits of Shaker Cabinet Doors
Shaker cabinet doors bring a plethora of benefits to the table, making them a popular choice for homeowners and designers alike.
Firstly, these doors provide a sense of timelessness and versatility. Their uncomplicated design allows them to seamlessly integrate into both traditional and modern settings, adapting effortlessly to changing trends. The clean and straightforward lines of Shaker cabinet doors contribute to an uncluttered aesthetic, creating a visually appealing and harmonious atmosphere within any space.
Secondly, the construction of Shaker cabinet doors adds a touch of craftsmanship to your interiors. The frame-and-panel design, with its meticulous attention to detail, showcases the artistry behind the construction. Crafting these doors becomes an art form, elevating the overall appeal of your cabinetry and furniture.
Additionally, Shaker cabinet doors offer customization options. Homeowners can experiment with various finishes, including paints and stains, to match their individual preferences and interior themes. The recessed panel also provides an opportunity to add depth and texture, allowing for creative expressions in interior design.
Step-by-Step Guide

This step-by-step guide consists of 4 parts, which includes gathering materials, taking safety cautions, process, and further customization. Ready? Let’s dive into it then!
Required Materials
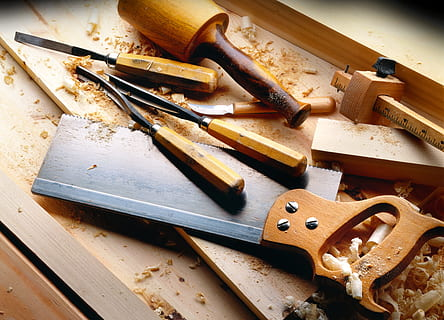
Before diving into the project, we need to gather some necessary supplies. These supplies are easily found in your nearest hardware shop or even super markets. Therefore, you won’t have to break a sweat in order to find them or even break a bank. These supplies are listed below.
- Plywood or solid wood panels
- Miter saw or circular saw
- Table saw
- Wood glue
- Bar clamps
- Router
- Shaker-style router bit
- Sandpaper (various grits)
- Wood filler
- Paint or stain of your choice
- Paintbrush or foam roller
Precautions
Undertaking the construction of Shaker cabinet doors necessitates a vigilant approach to ensure safety and precision. Begin by wearing appropriate safety gear, including eye protection and earplugs, when using power tools. Prioritize a well-ventilated workspace to minimize exposure to wood dust. Take time to familiarize yourself with the proper operation of tools, ensuring confidence and control during the crafting process. Regularly inspect tools for any wear or damage, promptly addressing any issues that may compromise safety. When applying wood glue, exercise caution to prevent spills, and promptly clean any excess glue to avoid complications during finishing. Employ secure clamping techniques to guarantee the integrity of joints during the assembly of door frames. Finally, maintain a clean workspace, reducing the risk of accidents and ensuring a smooth workflow throughout the entire construction process.
Step-by-Step Process
Right. Now that you have gathered all the materials, we can dive into the step-by-step process. These steps are rather easy. You can include your loved one’s in this project, establishing stronger bonding. This project is just like another project of DIY crafting with kids, very easy.
Step 1:
Measure and Cut the Panels Start by measuring the dimensions of your cabinet openings. Using a miter saw or circular saw, cut the plywood or solid wood panels to the desired size. Ensure that the panels are cut precisely to achieve a professional look.
Step 2:
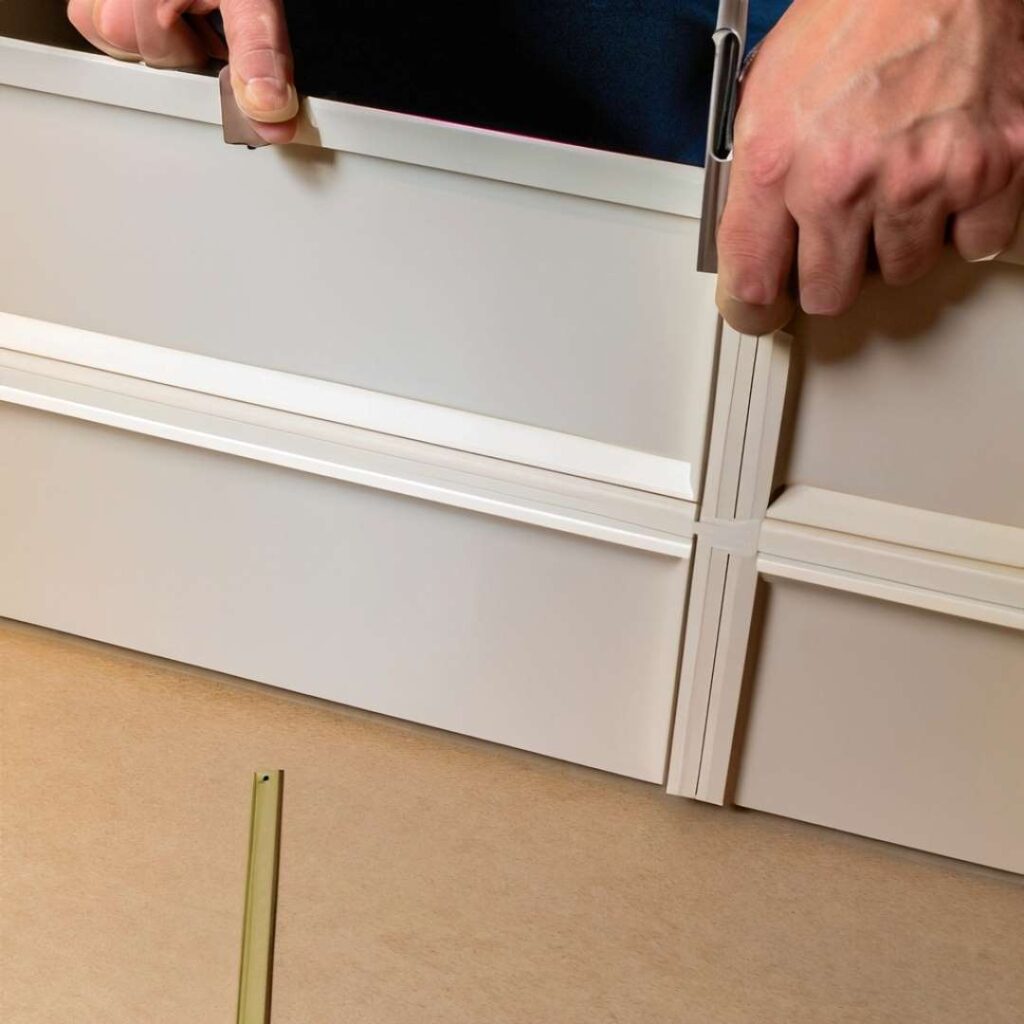
Create the Frame To achieve the distinctive Shaker look, you’ll need to create a frame for each cabinet door. Use a table saw to cut four pieces of wood for each door – two for the vertical sides (stiles) and two for the horizontal top and bottom (rails). Ensure that the corners fit together seamlessly for a clean appearance.
Step 3:
Assemble the Door Frame Apply wood glue to the ends of the rails and attach them to the stiles, forming a rectangular frame. Use bar clamps to secure the pieces together while the glue dries. Wipe away any excess glue with a damp cloth to prevent it from affecting the finish later on.
Step 4:
Add the Shaker Profile To achieve the iconic Shaker style, use a router with a Shaker-style router bit to create a recessed panel in the center of the frame. This step adds depth and detail to the doors, enhancing their visual appeal. Be sure to follow safety precautions when using power tools.
Step 5:
Sand and Smooth Once the router work is complete, sand the entire door to smooth out any rough edges or imperfections. Start with a coarser grit and gradually move to finer grits for a flawless finish. Pay extra attention to the edges and corners.
Step 6:
Fill and Sand Again Fill any gaps, knots, or imperfections with wood filler. Once dry, sand the doors again to ensure a seamless surface. This step is crucial for achieving a professional and polished final result.
Step 7:
Finish with Paint or Stain Now it’s time to add your desired finish. Whether you choose to paint the doors for a clean, modern look or stain them to showcase the natural wood grain, ensure that the finish complements your overall design. Apply multiple coats for durability.
Further Customization Ideas
If you are someone who likes to add a personal touch or likes to take a DIY project to the next level, you can follow these DIY personalization ideas. These ideas will take your DIY project of making a shaker cabinet doors to the next level.
1. Unique Finishes for Personalized Appeal
Explore various paint colors and stain options to customize the appearance of your Shaker cabinet doors. Choose hues that complement your overall interior design, ensuring a cohesive and personalized look.
2. Textured Elegance with Panel Inserts
Enhance the Shaker style by experimenting with different panel insert materials. Consider adding texture with beadboard, glass, or even metal inserts for a distinctive and eye-catching touch.
3. Hardware Selection for Functional Charm
Elevate the functionality and aesthetics by carefully selecting hardware. Choose knobs, pulls, or handles that resonate with your personal style, enhancing the overall charm of your Shaker cabinet doors.
4. Distressed or Antiqued for Vintage Vibes
Infuse a vintage or rustic feel by distressing or antiquing your Shaker cabinet doors. This technique adds character and a sense of history, making your project truly one-of-a-kind.
5. Frame Profile Variations for Artistic Flair
Experiment with different frame profiles to add artistic flair to your Shaker cabinet doors. From chamfered edges to decorative moldings, these variations can redefine the visual impact of your project.
6. Inlay Patterns for Intricate Detailing
Introduce intricate inlay patterns within the recessed panel of your Shaker cabinet doors. This customization adds a level of detailing that reflects your unique taste and craftsmanship.
7. Two-Tone Elegance for Modern Sophistication
Embrace modern sophistication by opting for a two-tone finish on your Shaker cabinet doors. Contrast the frame color with the center panel, creating a contemporary and visually interesting design.
8. Glass Fronts for Open and Airy Spaces
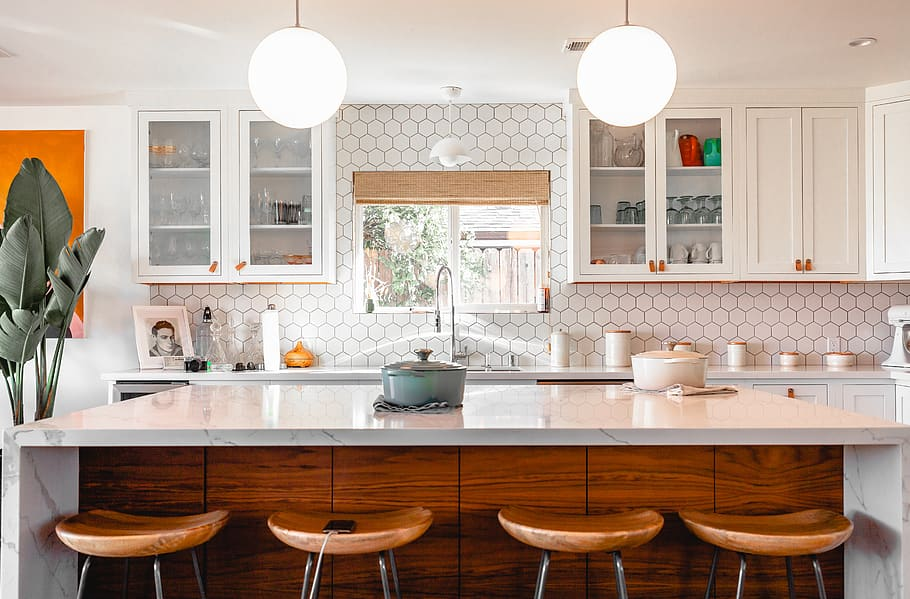
Consider incorporating glass fronts into some of your Shaker cabinet doors for an open and airy feel. This option is perfect for displaying prized dishware or creating a focal point in your kitchen.
9. Chalkboard or Magnetic Panels for Functionality
Add functionality to your Shaker cabinet doors by incorporating chalkboard or magnetic panels. This allows for practical notes, shopping lists, or a creative space for personal expression.
10. LED Lighting for Ambiance and Visibility
Illuminate the interior of your cabinets with LED lighting. This customization not only adds ambiance but also enhances visibility, creating a stunning visual impact when the cabinet doors are open.
Exploring these customization ideas will not only make your Shaker cabinet doors unique but will also showcase your creativity in mastering the art of how to make Shaker cabinet doors.
Conclusion
In the end, making Shaker cabinet doors is about letting your creativity shine. Embrace the classic Shaker style and add your personal touch. Don’t forget safety as you dive into this DIY adventure. Creating doors that blend practicality and beauty is a rewarding journey. So, gather your tools, enjoy the process, and turn your cabinets into timeless pieces that reflect your style and effort.